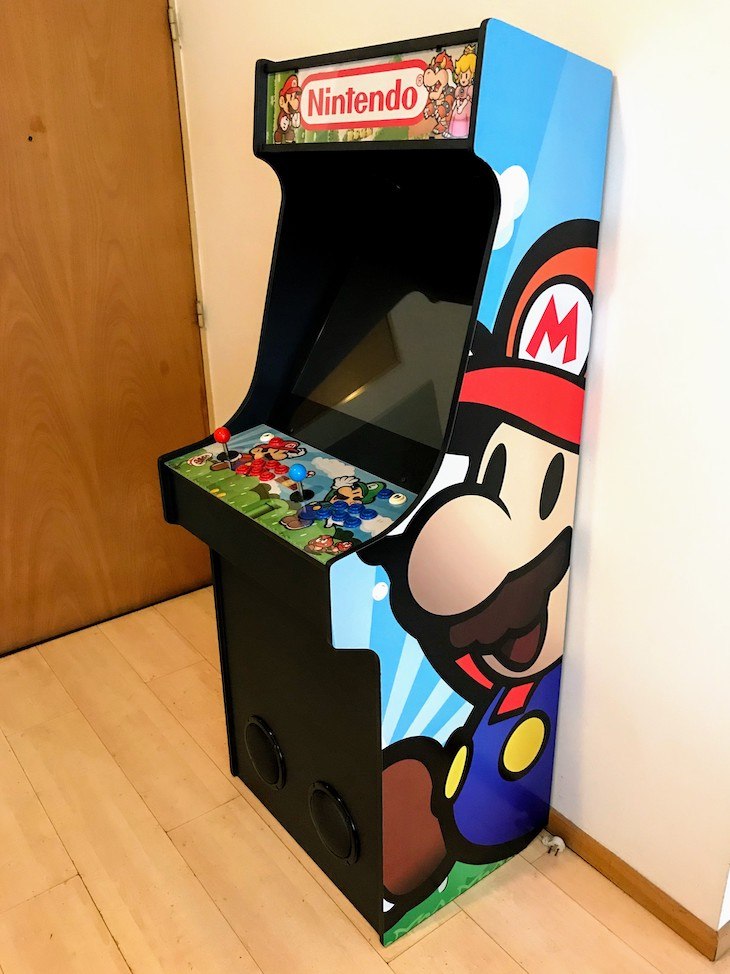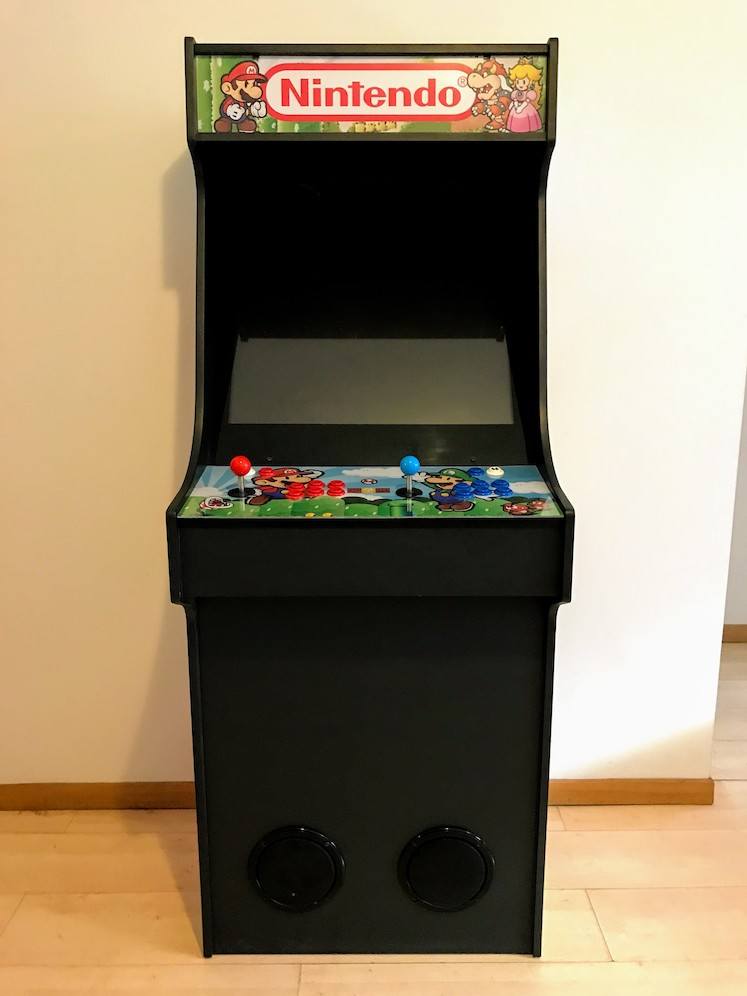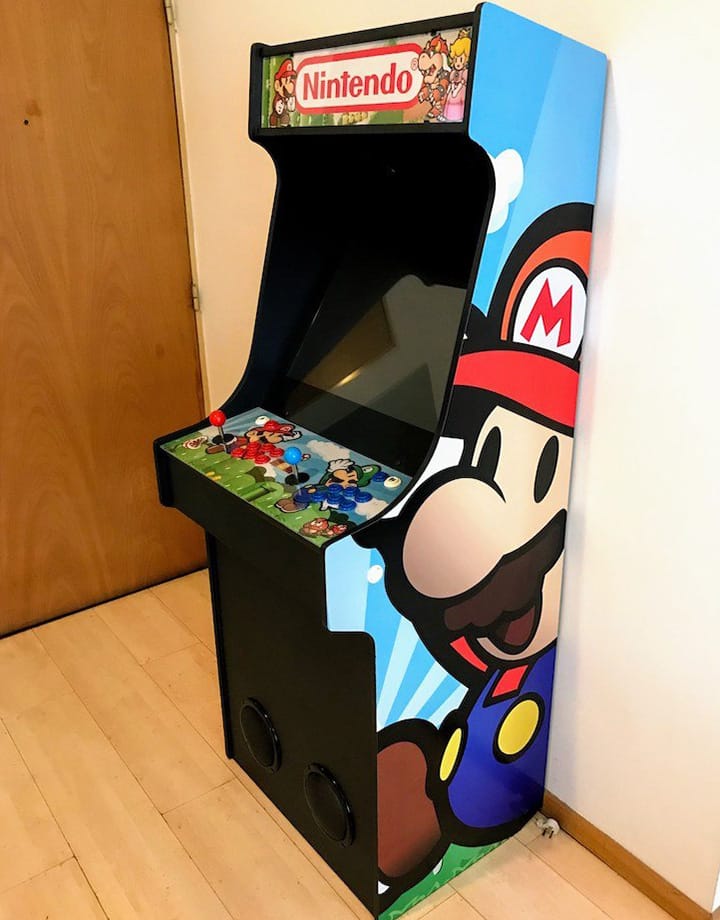


Back in 2013 I won a starter kit for makers from the Make Magazine. It had a Raspberry Pi Model 1 and some basic components. I spent several months looking for something interesting to build, but nothing caught my attention. I remember I almost gave up when I found RetroPie. RetroPie allows you to turn your Raspberry Pi into a retro-gaming machine.
I ran a quick experiment installing some ROMs to check how it worked. I was surprised how straightforward it was to have a working retro console with almost zero configuration. Though, it took me a while to set it up properly to make the most of it. I wrote a complete guide with the entire process step by step.
Goals
After successfully running RetroPie, I realized I could fit the Raspberry Pi with its tiny footprint inside an arcade cabinet. I looked everywhere for cabinets to restore, only to find costly wooden boxes in terrible conditions. Most of them were not worthwhile for restore, heavy, difficult to move, too big for an apartment, and expensive.
The only way to get the results I wanted would be by building an arcade cabinet from scratch. In those terms, I was looking for something that was:
- Easy to build and move around.
- Affordable.
- Suitable for an apartment.
- Old-school/Nostalgic shape.
The plans
Right after setting my expectations for an ideal arcade machine, I looked for some information on building one and quickly found Project MAME. The project has open-source plans to build different types of arcade cabinets from scratch. The one with the shape I was looking for was able to hold a PC with a keyboard and all. That added complexity to the build for something I didn't want to. The good part was that it was able to fit a flat screen inside.
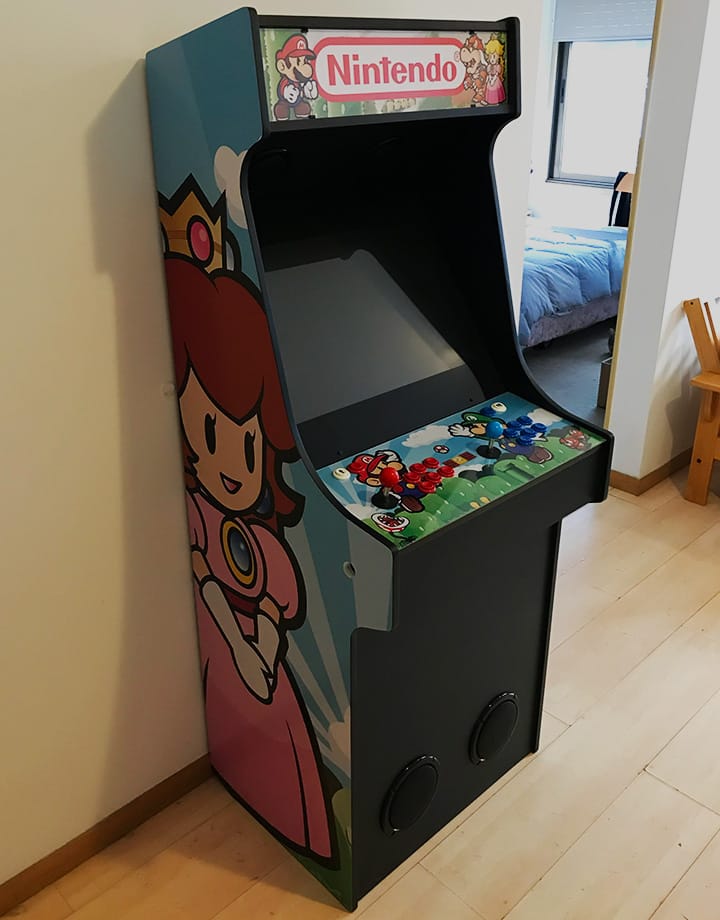
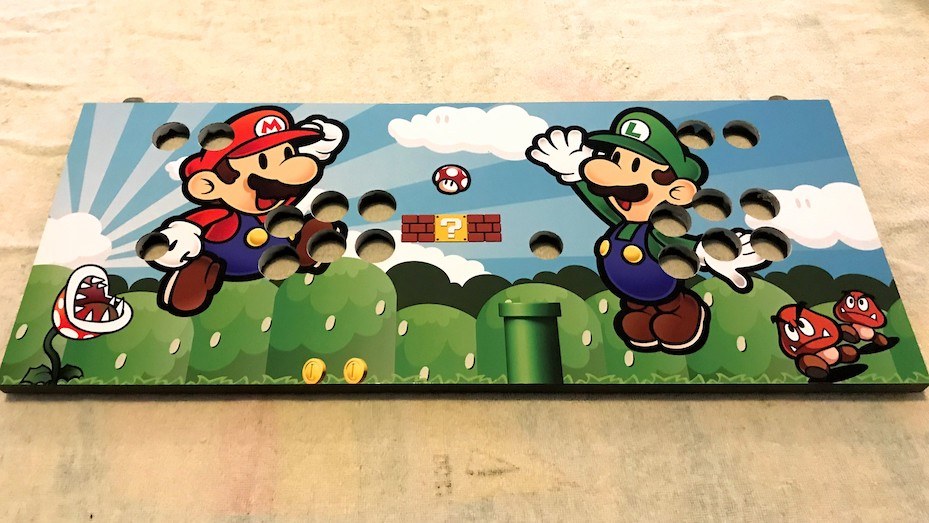
One of the many adaptations of that cabinet was this Paper Mario themed arcade (in Spanish). The author improved the original plans to use only MAME controllers and to have a taller marquee. He also made available the side art and a SketchUp 3D model:
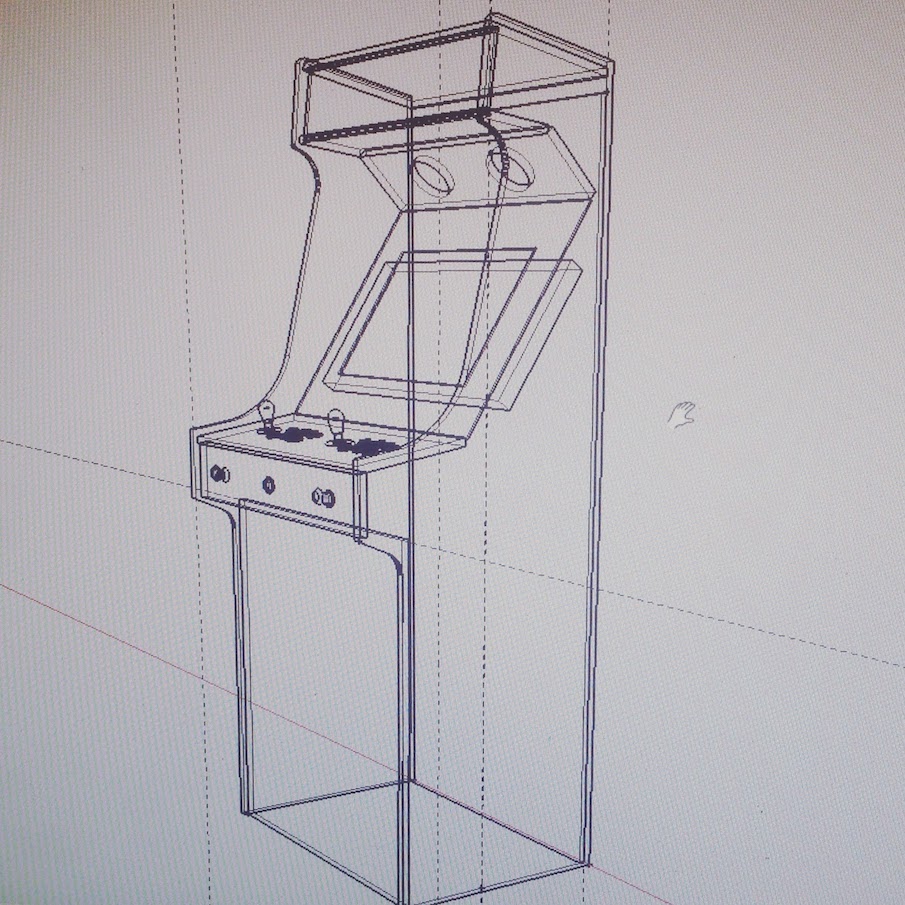
I only modified the width of the original plans by 2 cm. so the cabinet could fit an old 26" monitor that I've already had. I followed the rest of the plans as specified:
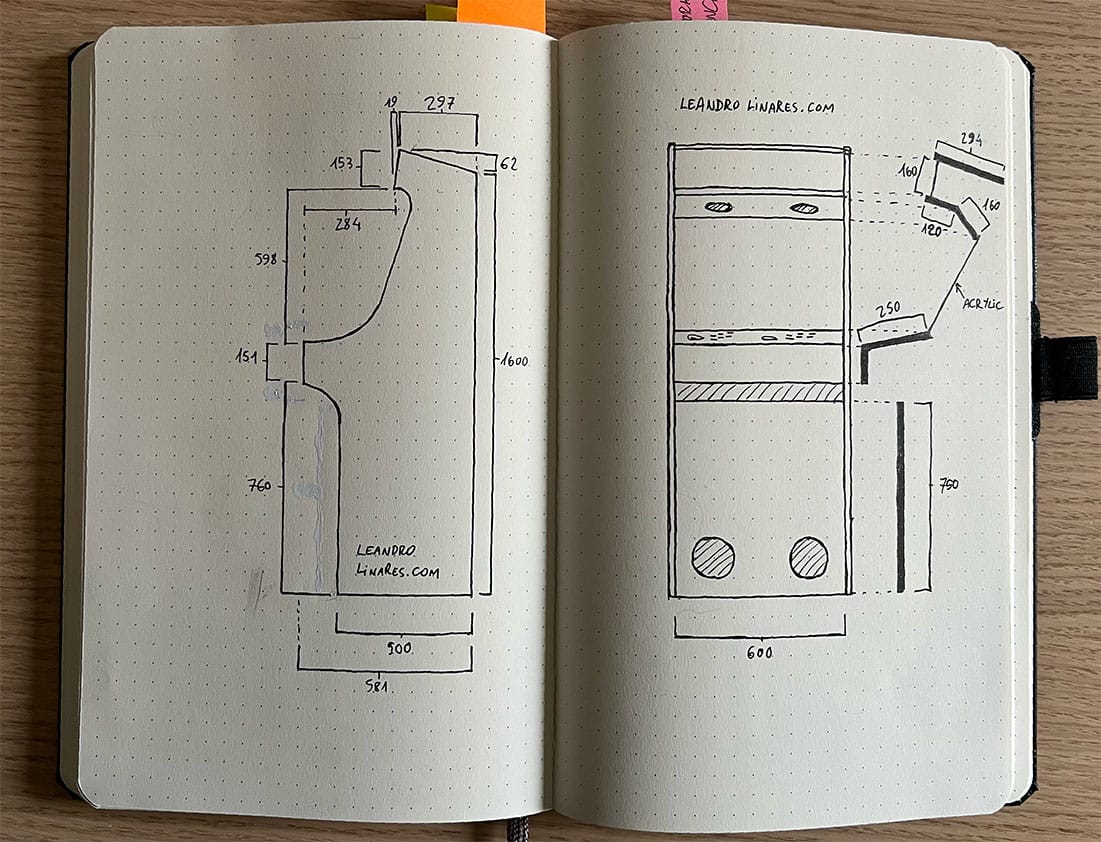
Before even buying materials, I built a 1/10th model in cardboard to see everything together. That way, I was sure that all made sense and was able to check if anything needed to be adjusted or redefined, especially after the width modification that I had to do. The model was 17 cm. height and it helped in defining the size and distribution of the speaker grills.
Materials
The most important decision was to choose what type of wood I'd use. I was between MDF, plywood, and particleboard. I chose MDF, but if I had known how hard it was to clean up the thin dust when sanding it, I'd have chosen another one. On the other hand, it was a very versatile material: easy to cut and drill.
The materials I used trough the entire project were:
MDF boards (15mm thickness):
- (2x) 169x60cm: Both laterals
- (2x) 16x62cm: Marquee bottom panel and speakers panel
- (2x) 25x62cm: Monitor support and controllers top panel
- (1x) 28x62cm: Marquee top panel
- (1x) 12x62cm: Controllers front panel
- (1x) 75x62cm: Front panel
- (1x) 60x62cm: Back panel
- (1x) 45x62cm: Bottom cover
- (1x) 94x62cm: Back door. I went for 5 mm thickness on this one
Acrylic sheets:
- (1x) 55x62cm x 2.4mm thick: Monitor cover
- (1x) 25x62cm x 2.4mm thick: Controllers art cover
- (2x) 13x62cm x 4mm thick: Marquee back and front
Other materials:
- 4 cm x 2 cm pine strips
- 80- and 360-grit sandpaper
- 3.5 mm x 30 mm golden screws for the strips
- 3.5 mm x 40 mm black screws for the MDF boards
- Wood putty
- White primer for MDF
- Glossy white spray paint
- Matte black spray paint
- 2 small speaker grills: 9 cm black mesh (12 cm including frame)
- 2 big speaker grills: 15 cm black mesh (18 cm including frame)
First cuts
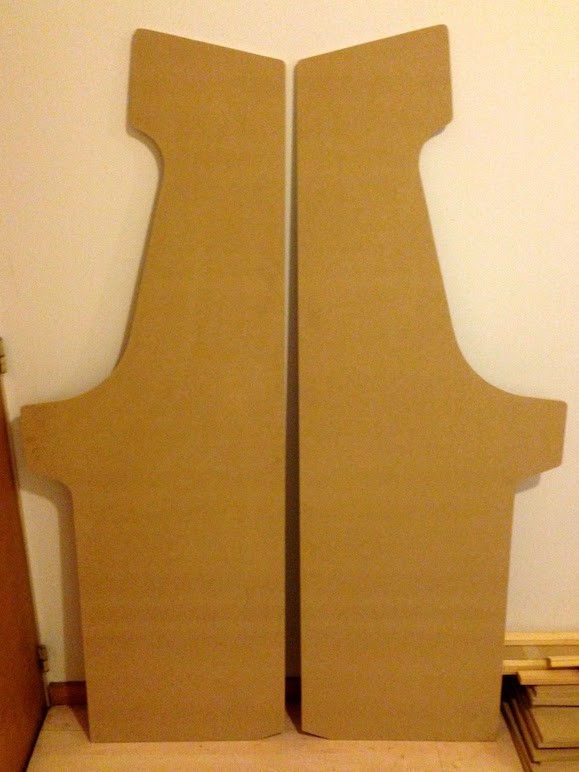
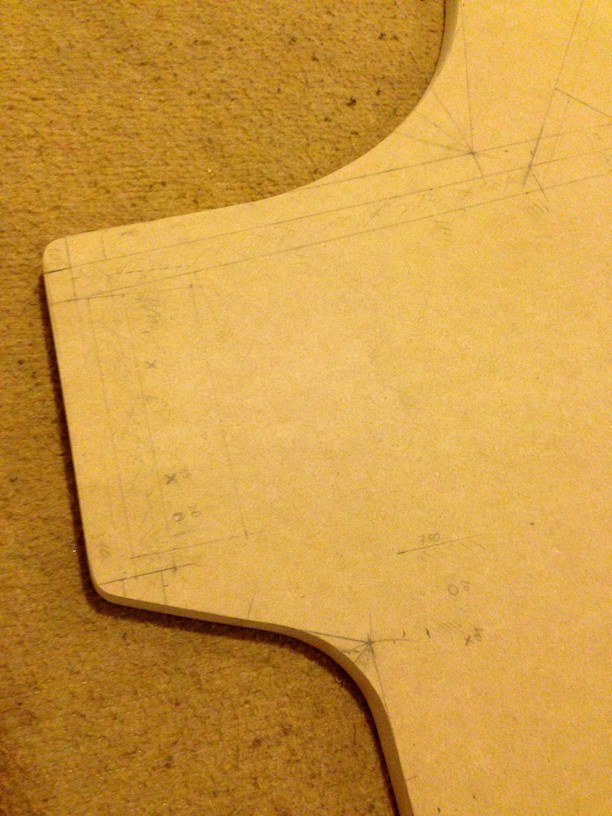
After getting all the MDF boards, I drew the shape of the cabinet in both laterals based on the plans. I've also used a pair of compasses to draw the curves.
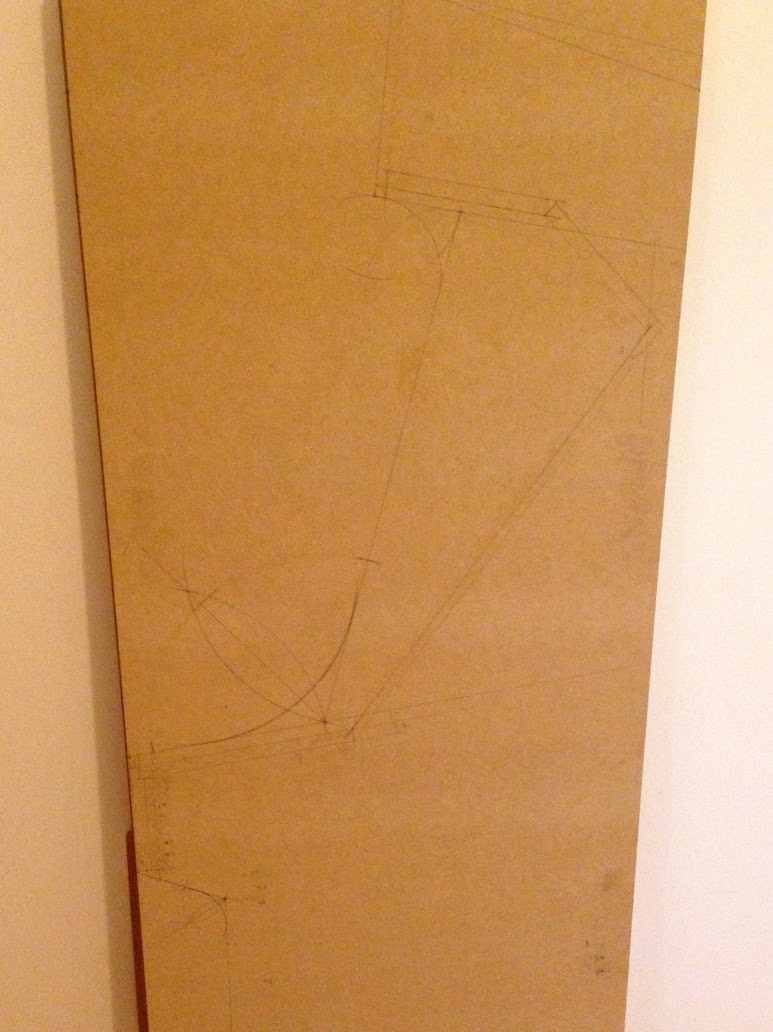
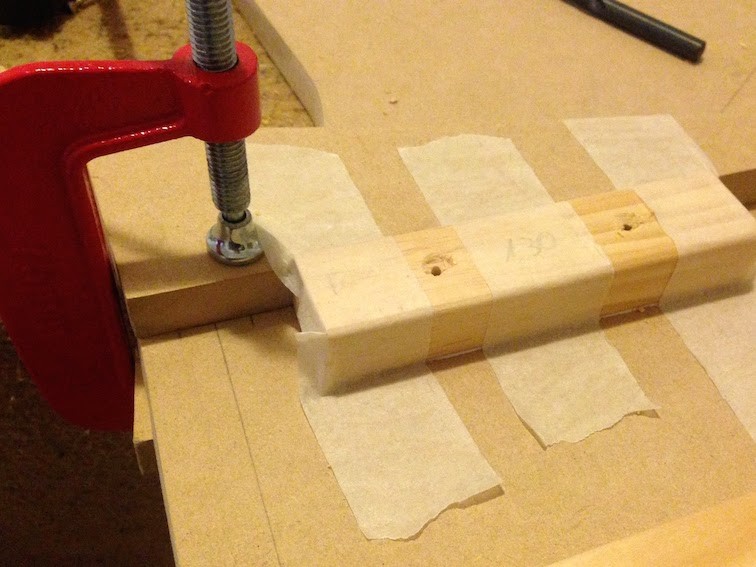
I sticked both laterals together with paper tape to make only one cut. This was actually a mistake, since the thicker the surface to cut, the more the blade will bow. I fixed it later just sanding the edges.
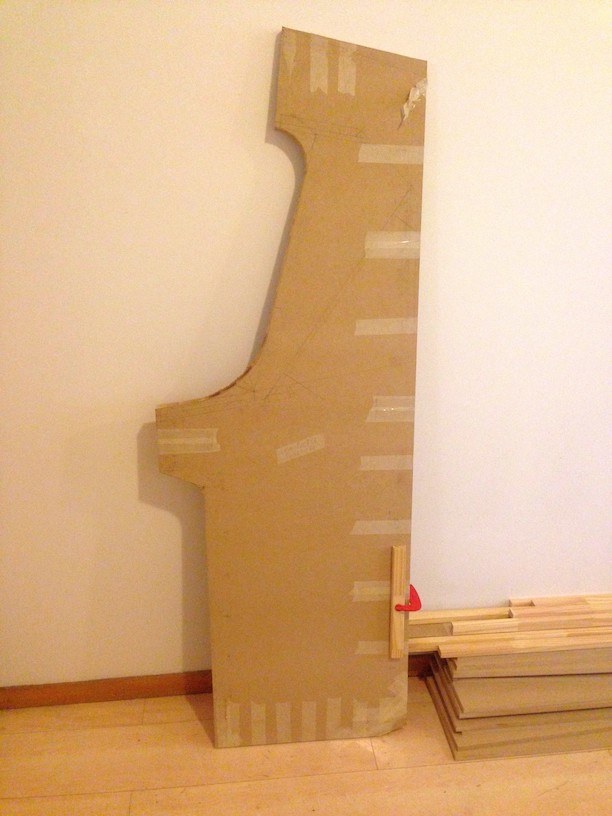
After making all the cuts, I learned a couple of valuable lessons:
- MDF produces fine dust when sanded: It doesn't matter how much gloves, masks, safety glasses I wore, I had to deal with dust in my hair and clothes for days. It was a nightmare to clean up after cutting or sanding. I even broke a vacuum cleaner trying to clean everything up.
- While cutting thick wood, the blade may flex or bow: In my case, it would have been better not to cut both boards together.
- The jigsaw blade gets hot and burns the wood unless you let the jigsaw cool down from time to time. My mistake was to make lengthy cuts in one single run:
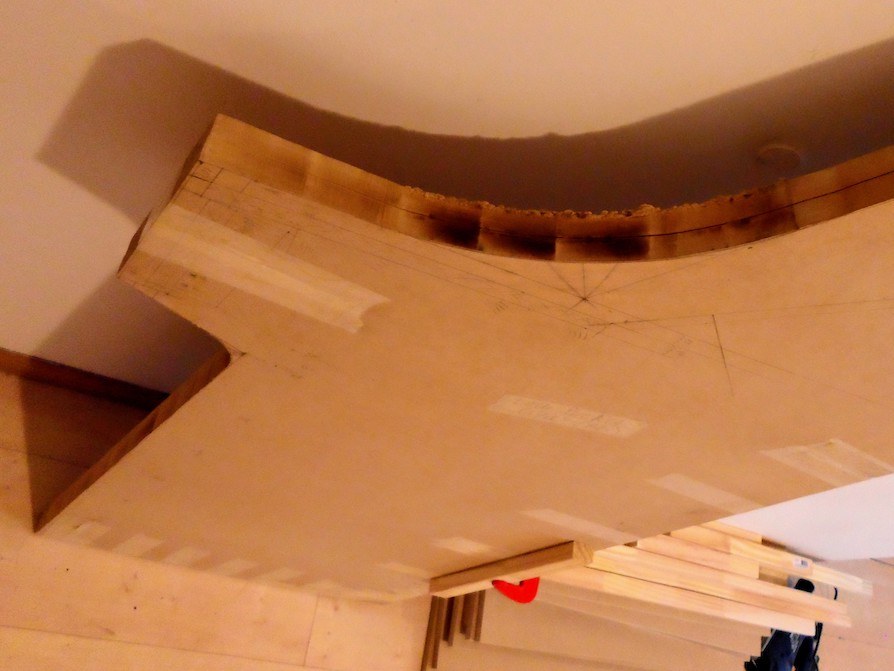
I used 80- and 360-grit sandpaper to smooth the edges and surfaces. While the former is a coarse grit for smoothing surfaces and removing imperfections, the latter is a fine grit for finishing surfaces smoothly. Sanding was also good for covering all the mistakes I made during the cuts.
Strips
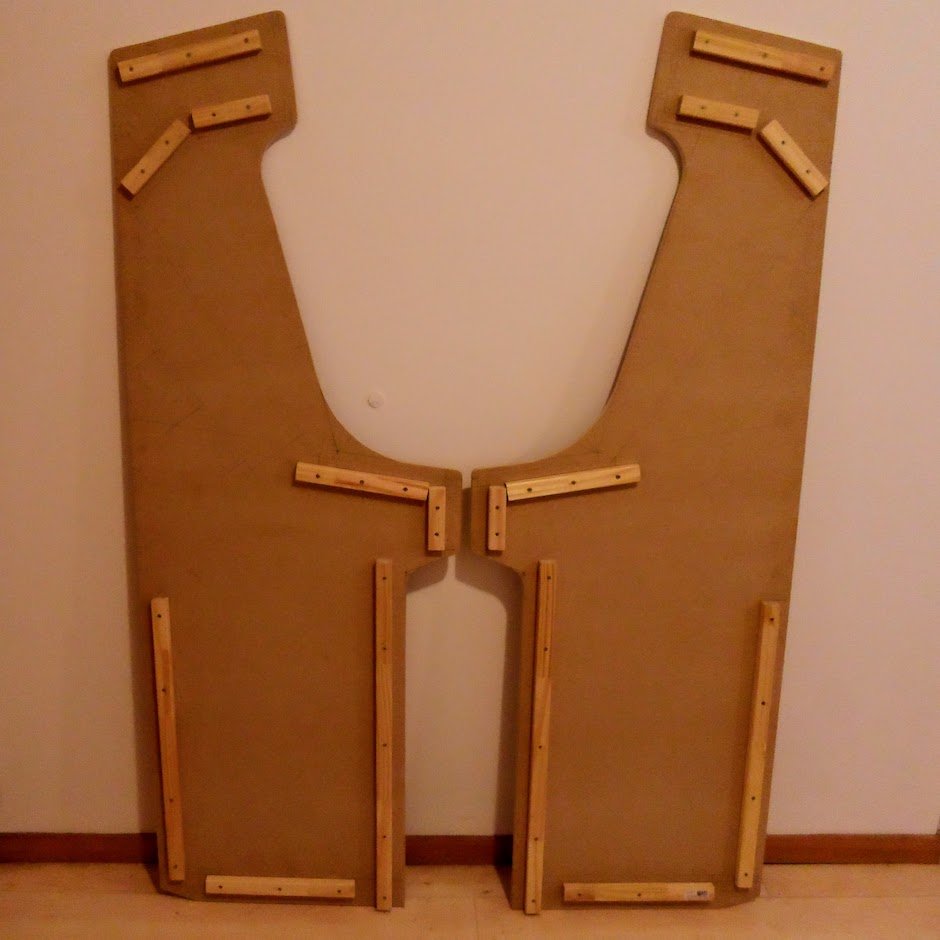
I decided to join all the pieces using strips. That way, I not only achieved millimetric precision in positioning the MDF boards but also managed to do so alone, without any help. I cut a bunch of 4 cm x 2 cm pine strips to the size of the boards they will be joining.
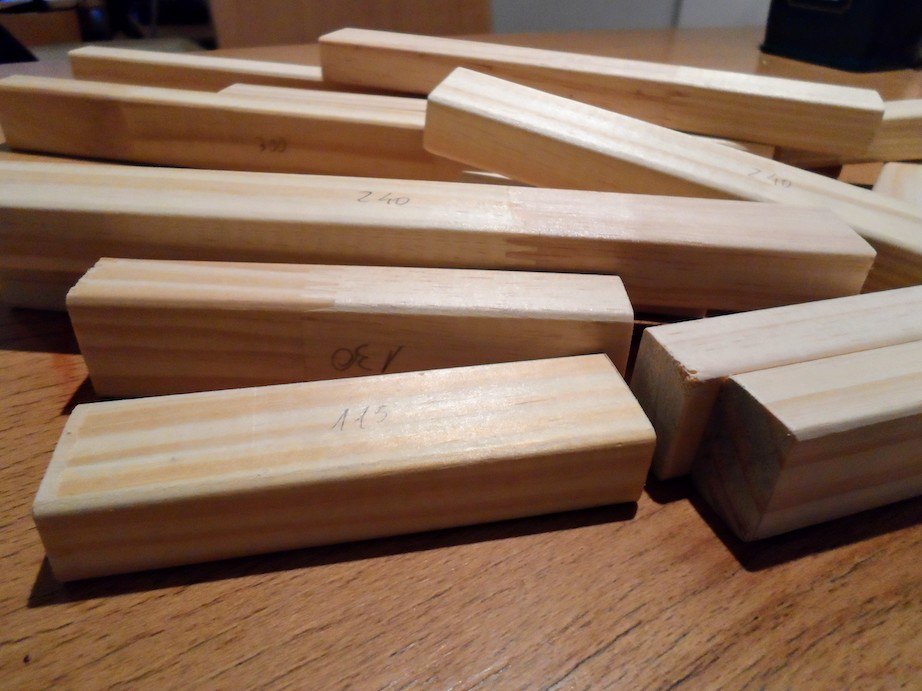
It wasn't necessary to use glue when I was already using screws, but I decided to use it anyway to hold the entire structure tight. I've also used a bigger drill bit on the surface to make the screws go deeper.
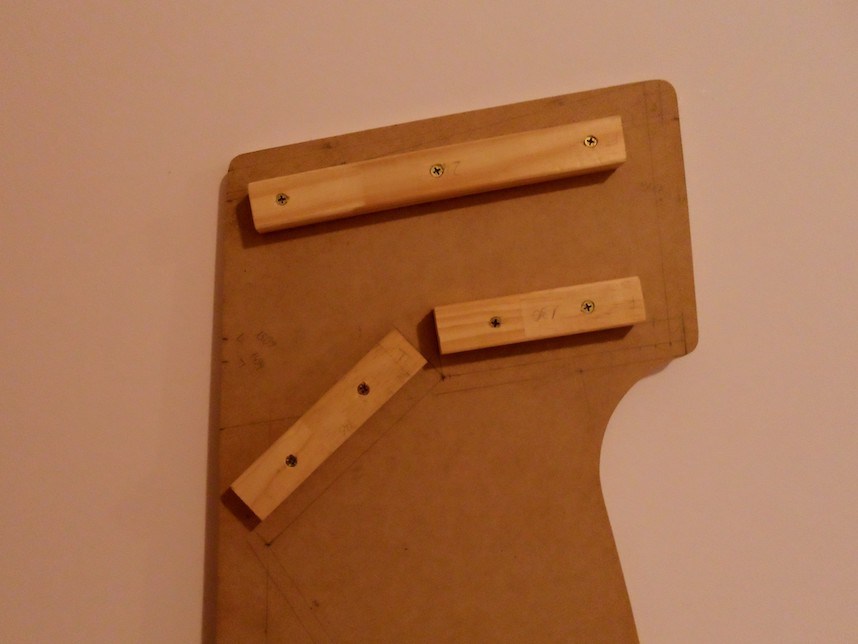
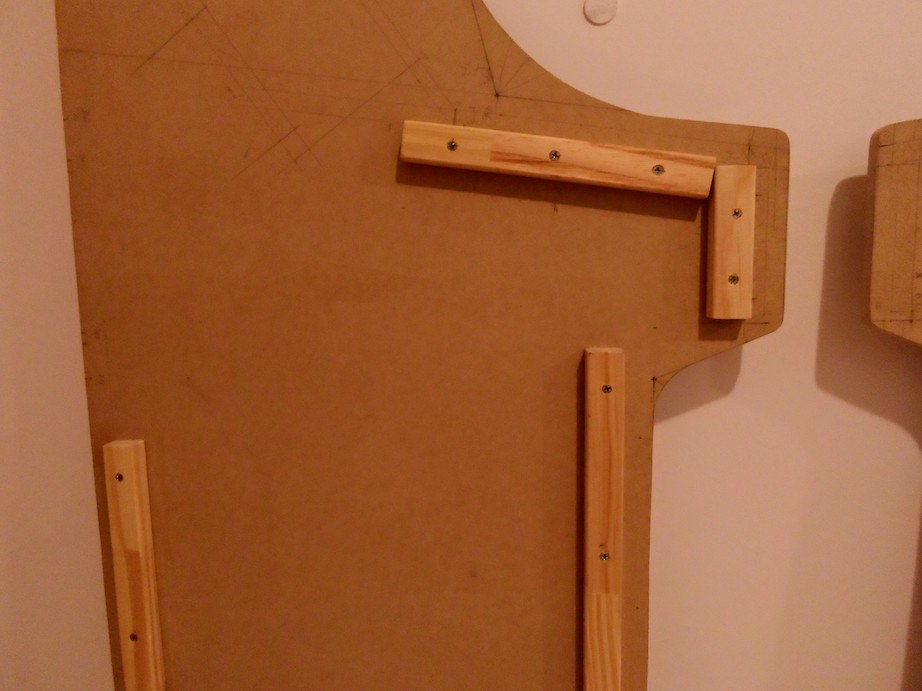
I attached all the strips to both lateral boards using 3.5 mm x 30 mm screws and carpenter's wood glue.
First assembly
I assembled all the pieces to see the final shape and size. At first, it looked like a massive fridge inside my apartment, but it began to take shape and improved as the project progressed.
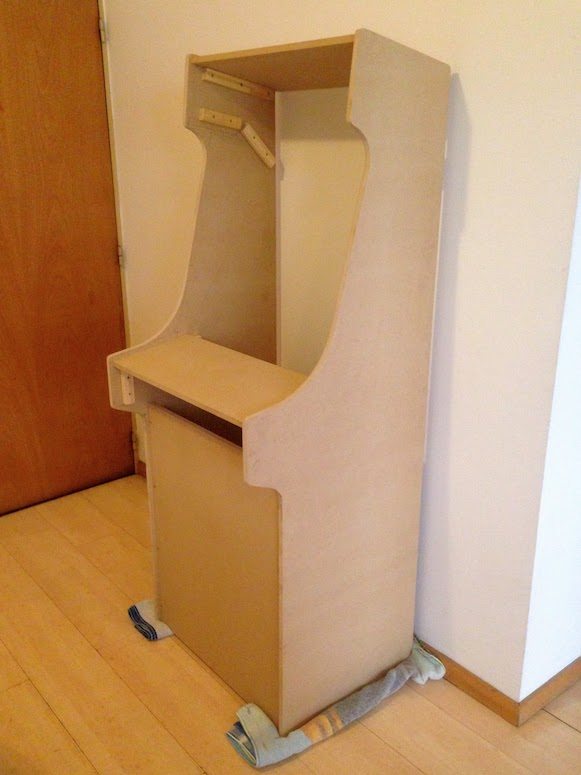
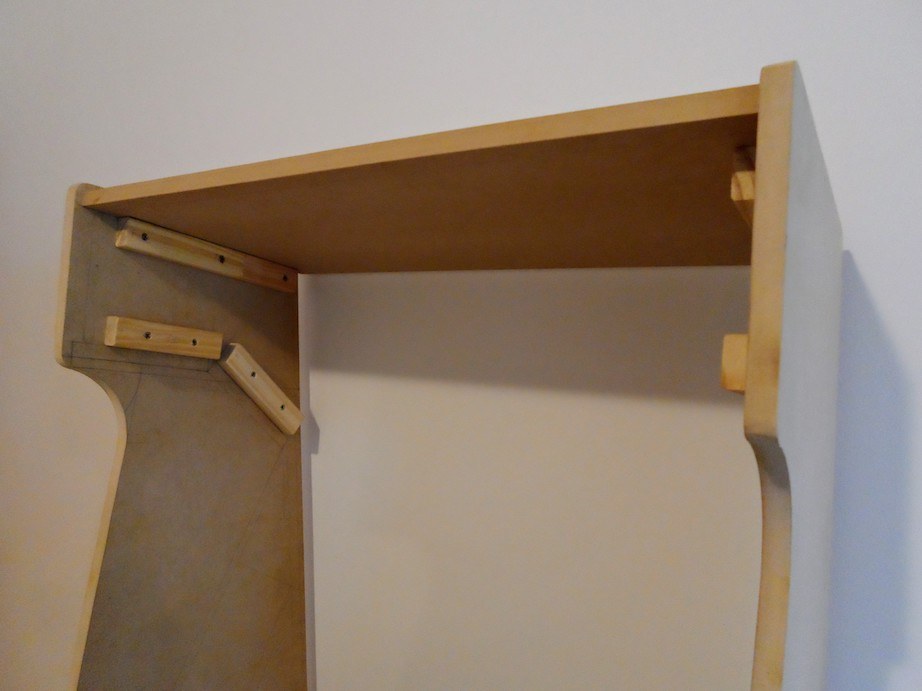
I attached the front and back panels with 3.5 mm x 40 mm screws.
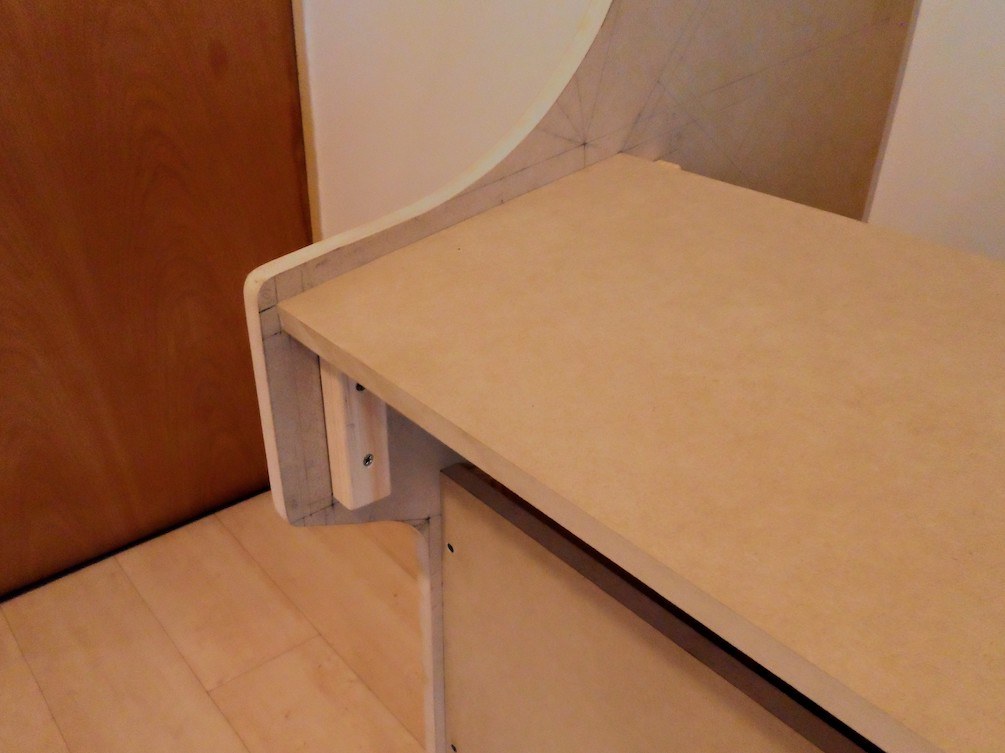
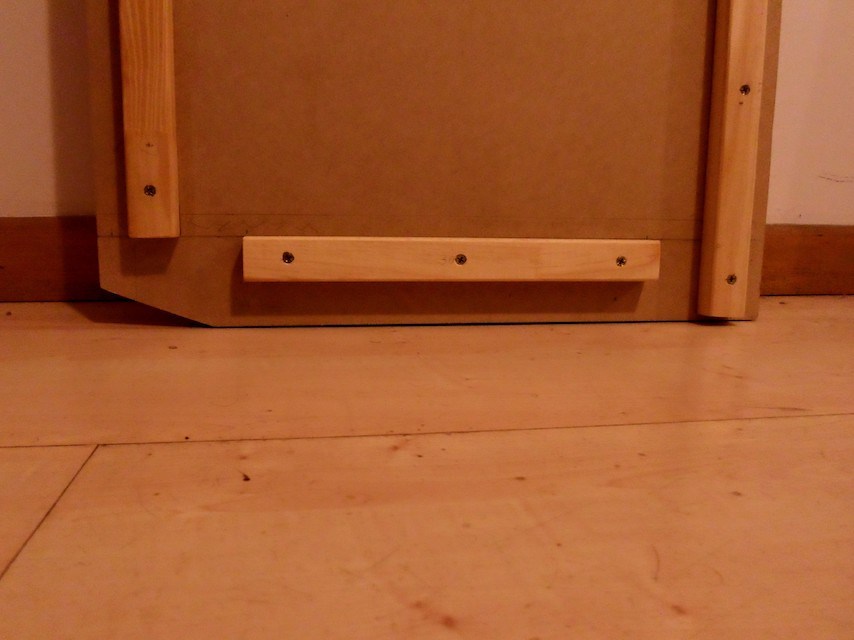
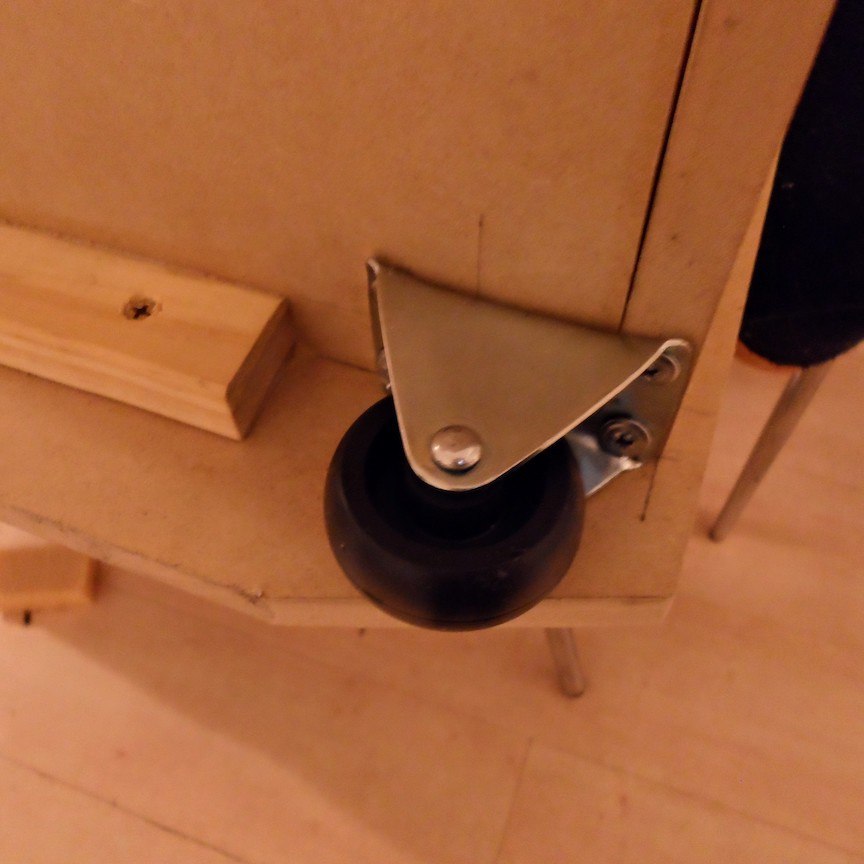
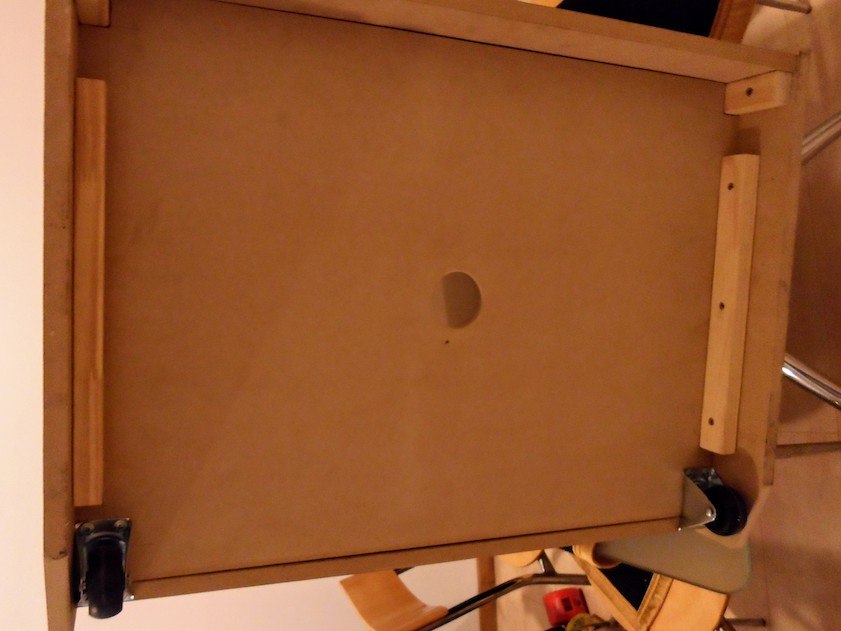
I've also installed the bottom cover and attached two wheels to move the cabinet around. I made a diagonal cut in both laterals to let the wheels lean on the floor when the cabinet is inclined.
Monitor
I had an old 26" Samsung monitor that was perfect for this cabinet. I believe that a 26-inch screen is too large for playing retro games when standing so close to it. An ideal size would be around 22" to 24", but I wouldn't spend money on a new monitor when I had this one at home.
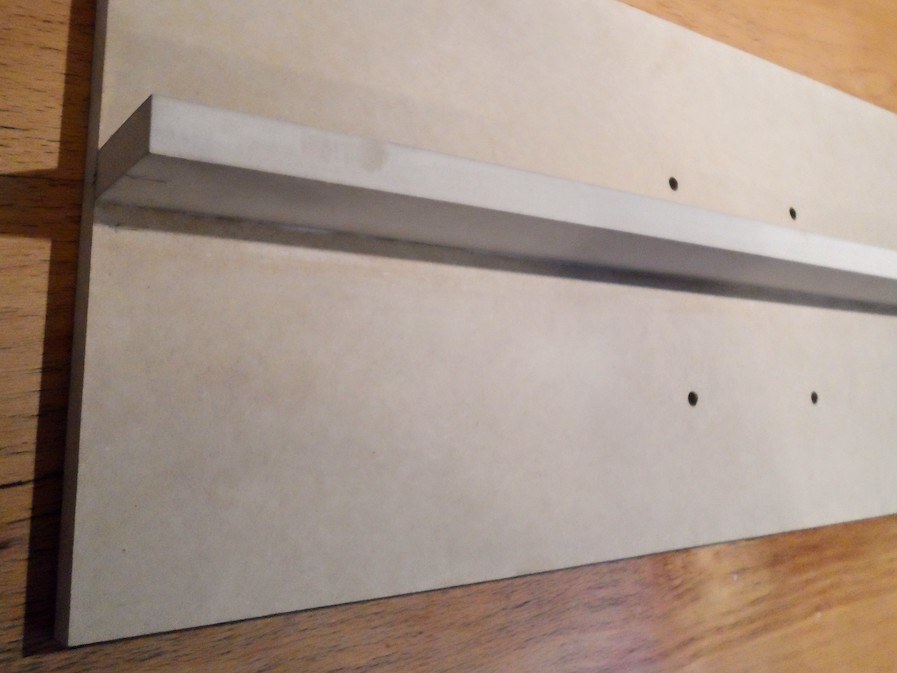
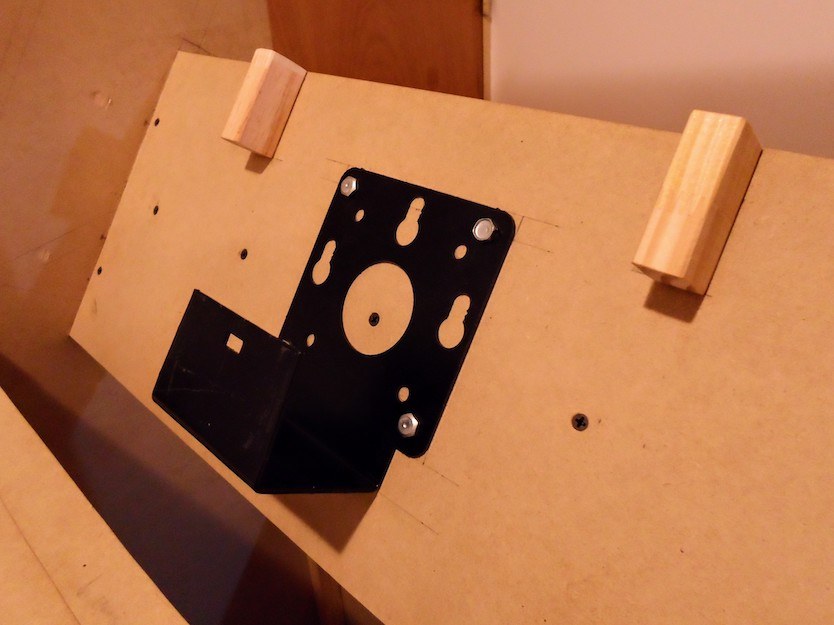
The problem was that this monitor has no VESA holes in the back to attach it to a wall mount. But, I found an unofficial mount that replaces the original base. I installed the mount onto a board, adding a small "T" for extra support to prevent bending under the weight of the monitor.
I made a placeholder in paper to be able to see more clearly where the screen needed to be mounted.
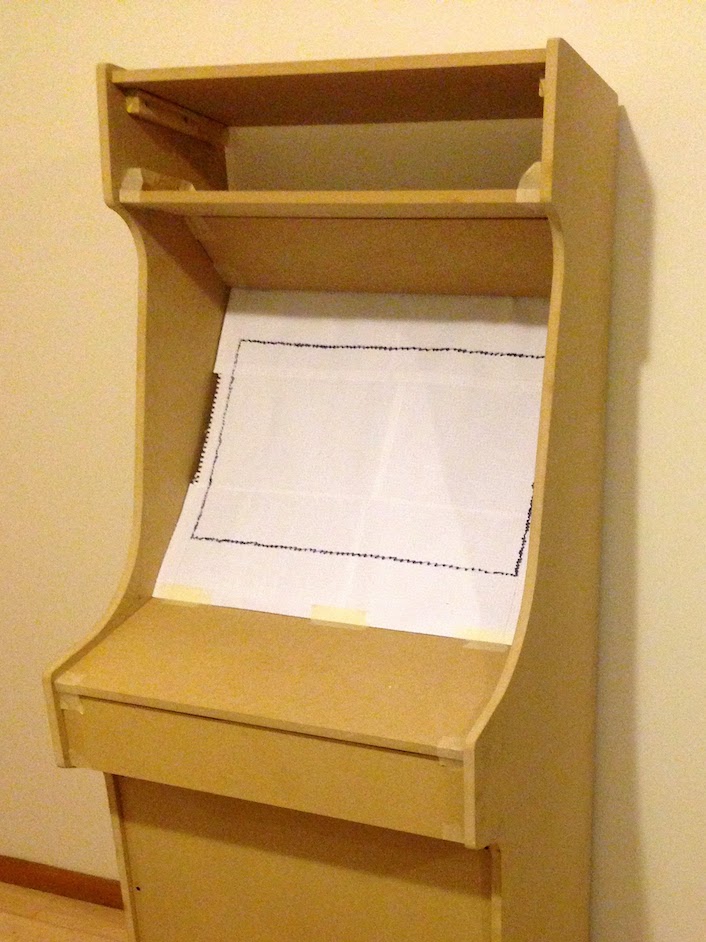
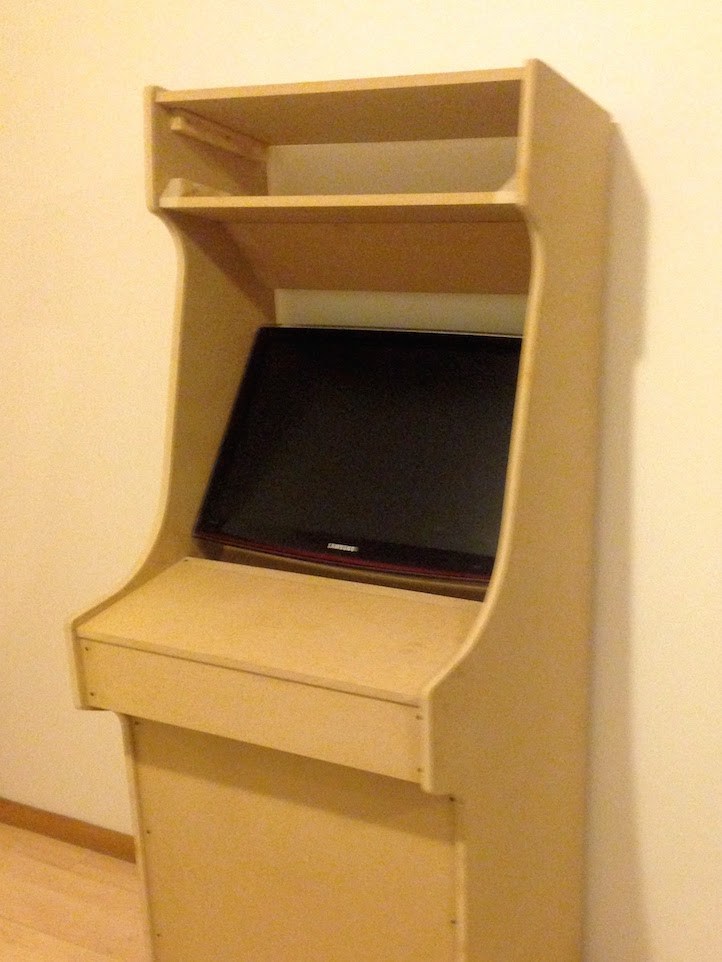
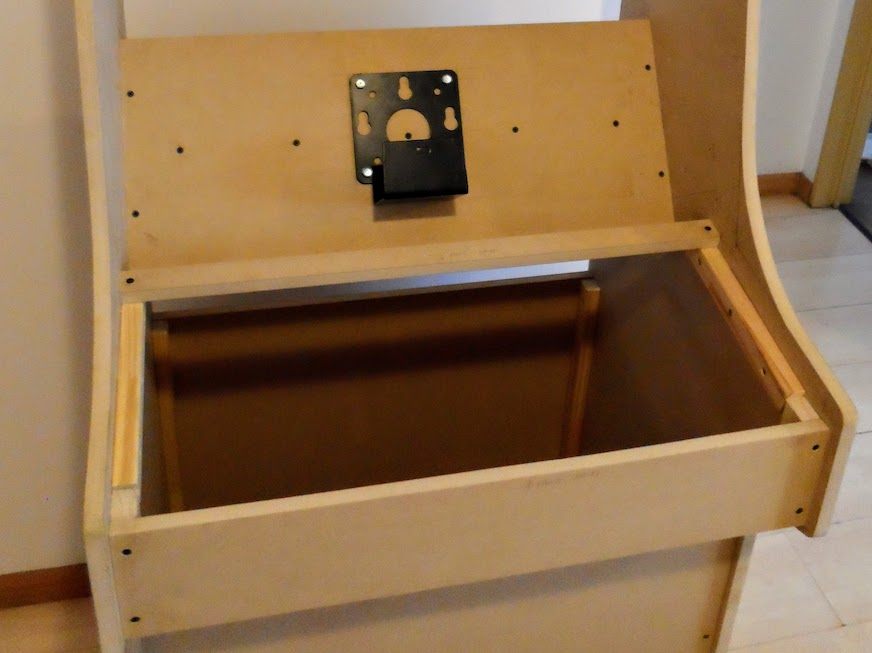
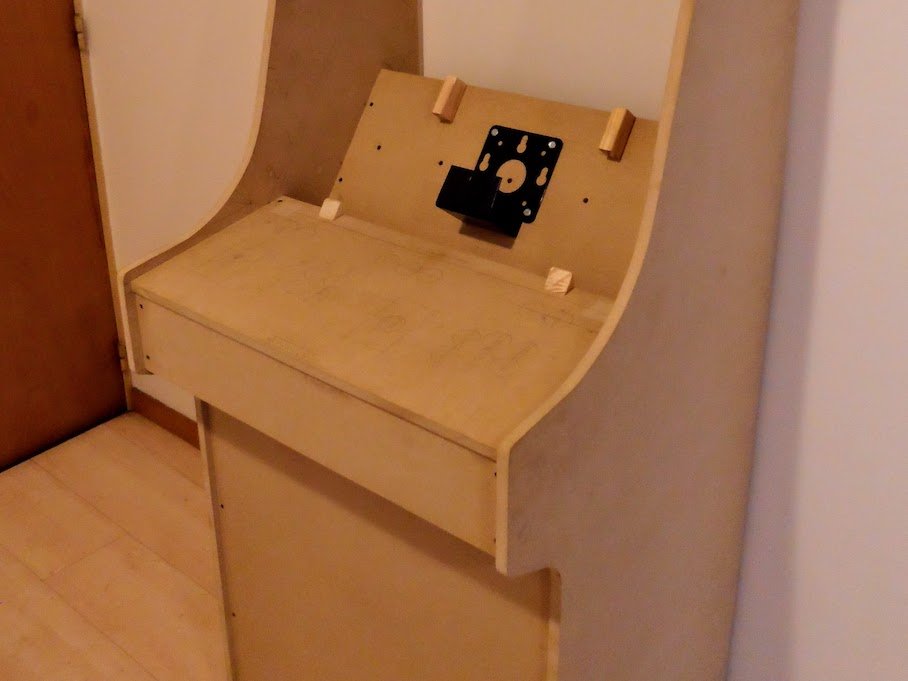
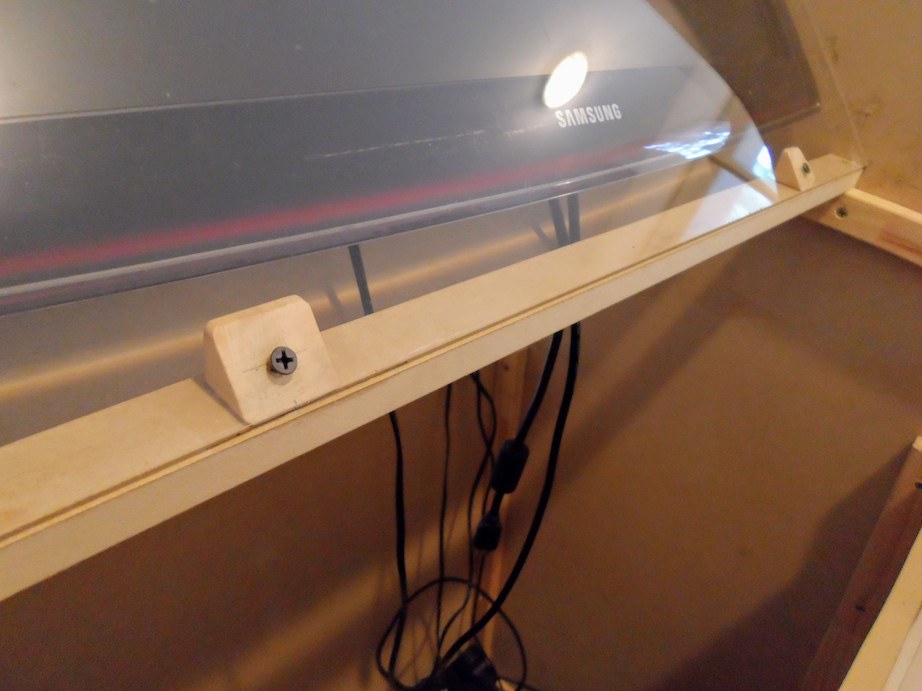
Using some leftovers of the strips, I added 2 supports on the back and 2 triangles to hold the acrylic cover.
Controllers
There are lots of different game controllers available for DIY projects out there. I bought a "MAME kit" which included:
- 2 Sanwa-like joysticks.
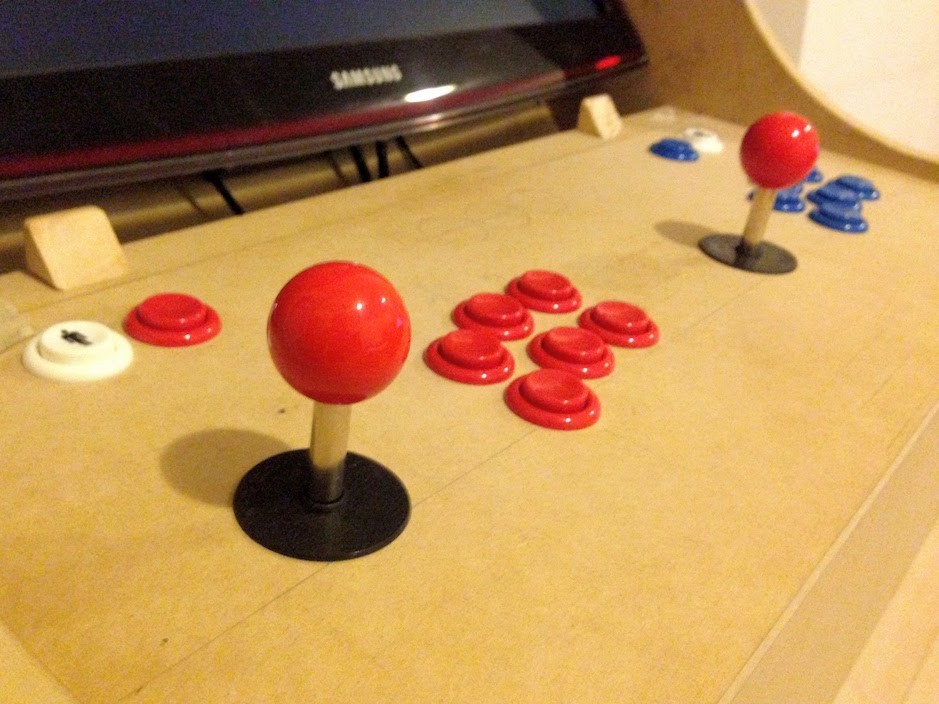
- 16 HAPP push buttons: 7 in red, 7 in blue, and 2 in white that I attached to the sides to play pinball games.
- 1P/2P buttons.
- USB board with cables for every button.
I did a little research about button positions in arcade cabinets. I found this article about the most common layouts. The author of the post has also made their own distribution based on an average of several controllers.
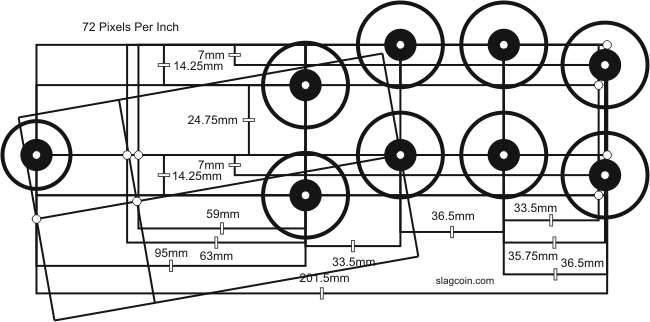
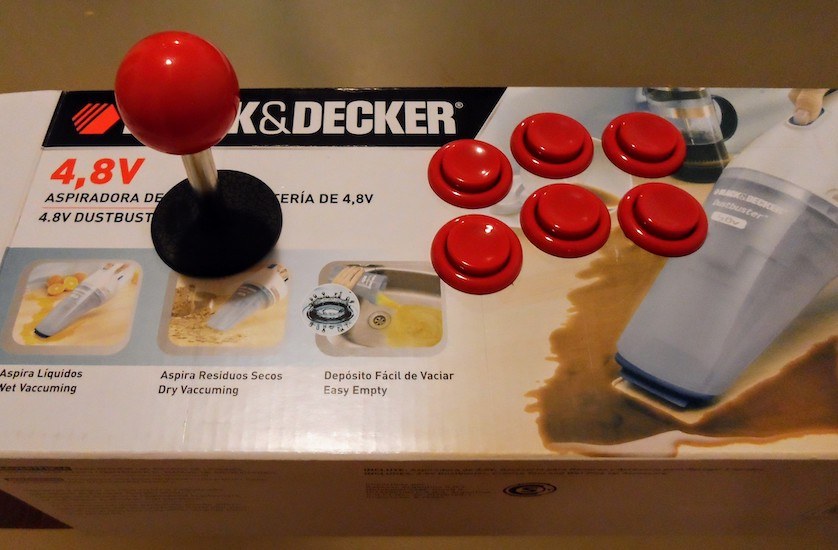
In my case I went for a mix between a couple of Sega layouts. I tested it on a cardboard box to be sure it looked good.
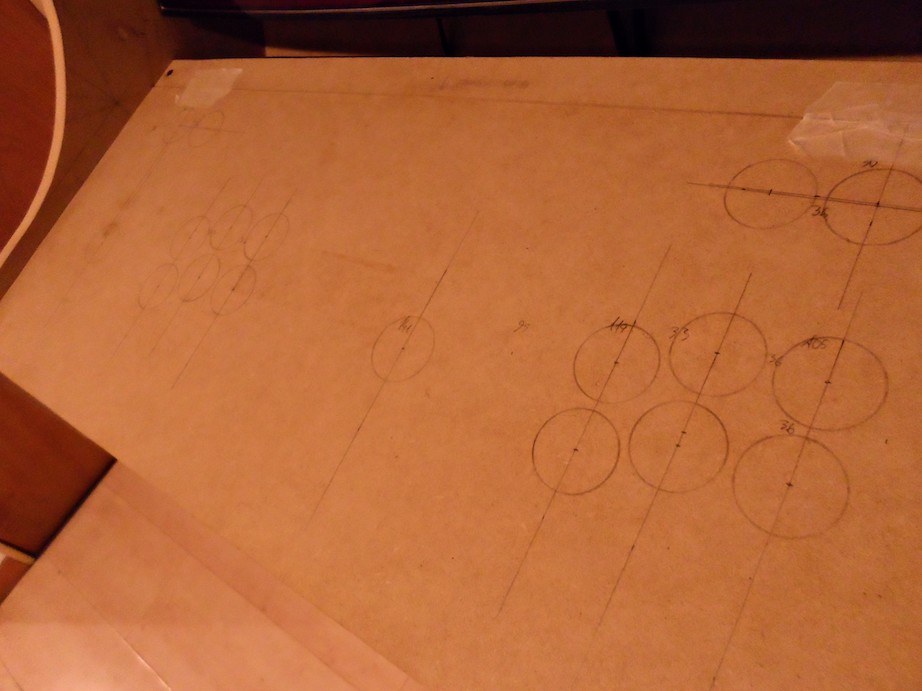
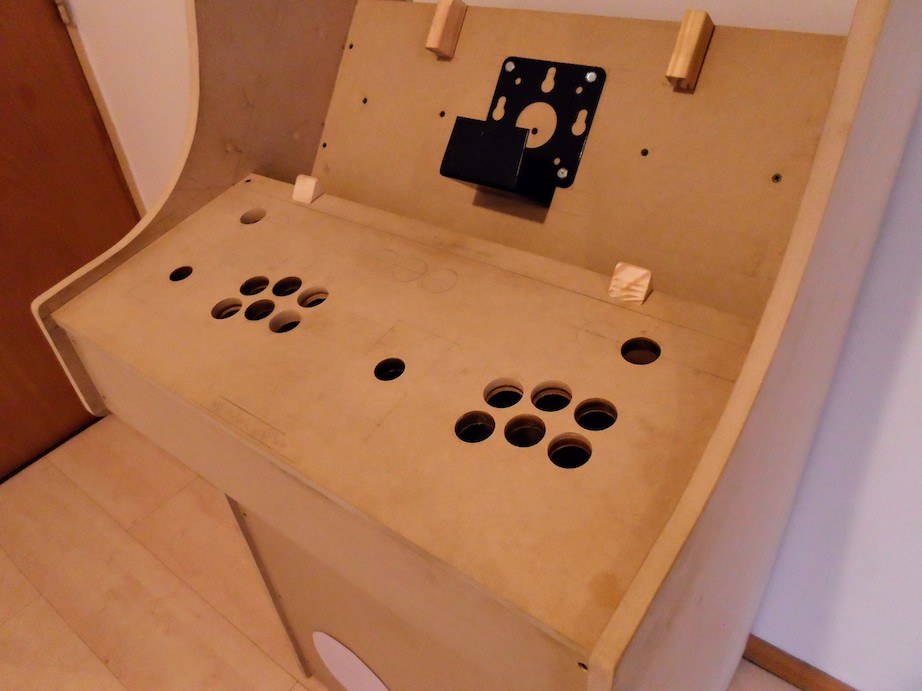
I drew the holes for all the components on the MDF board and drilled all the 18 holes.
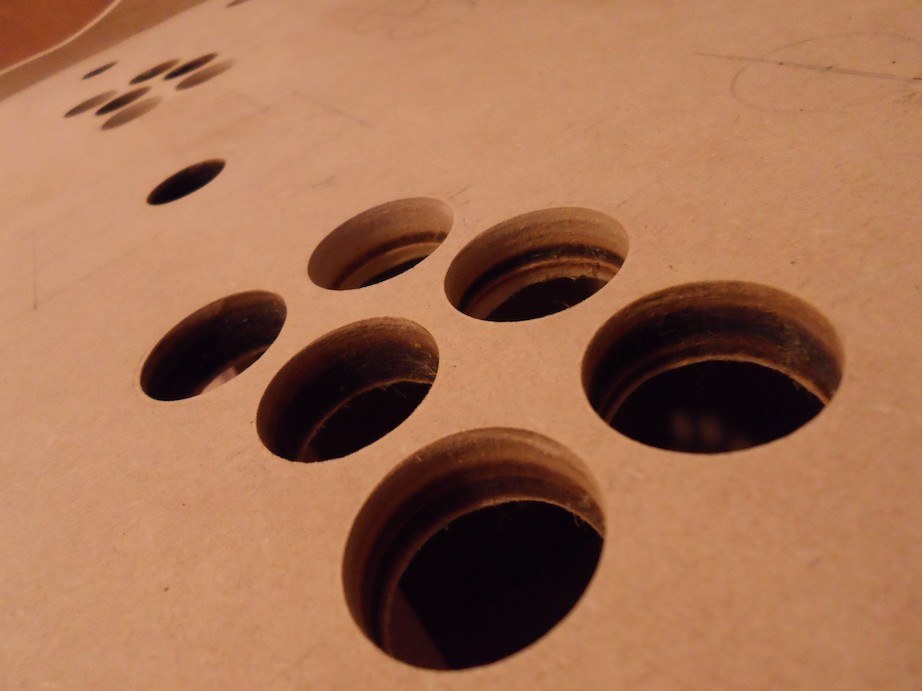
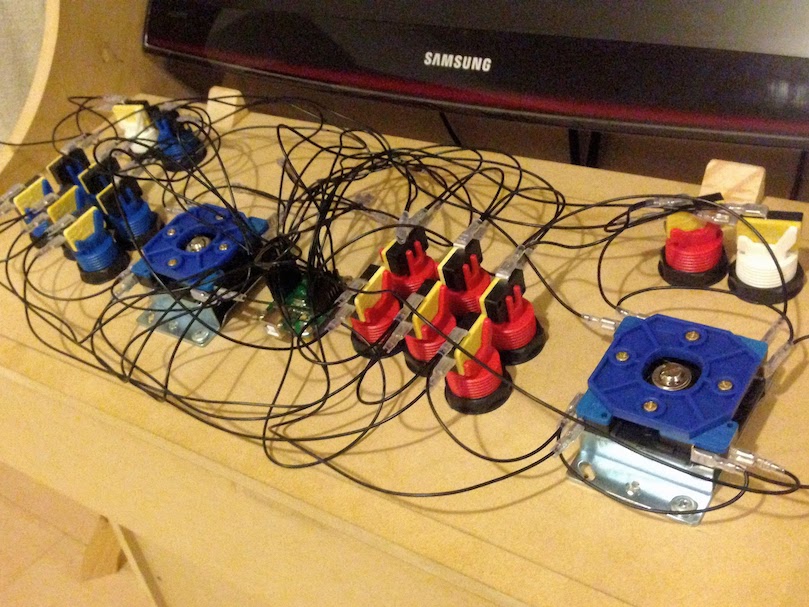
I installed the MAME kit, including joysticks, 14 push buttons, 1P/2P buttons, and the USB board.
Speakers
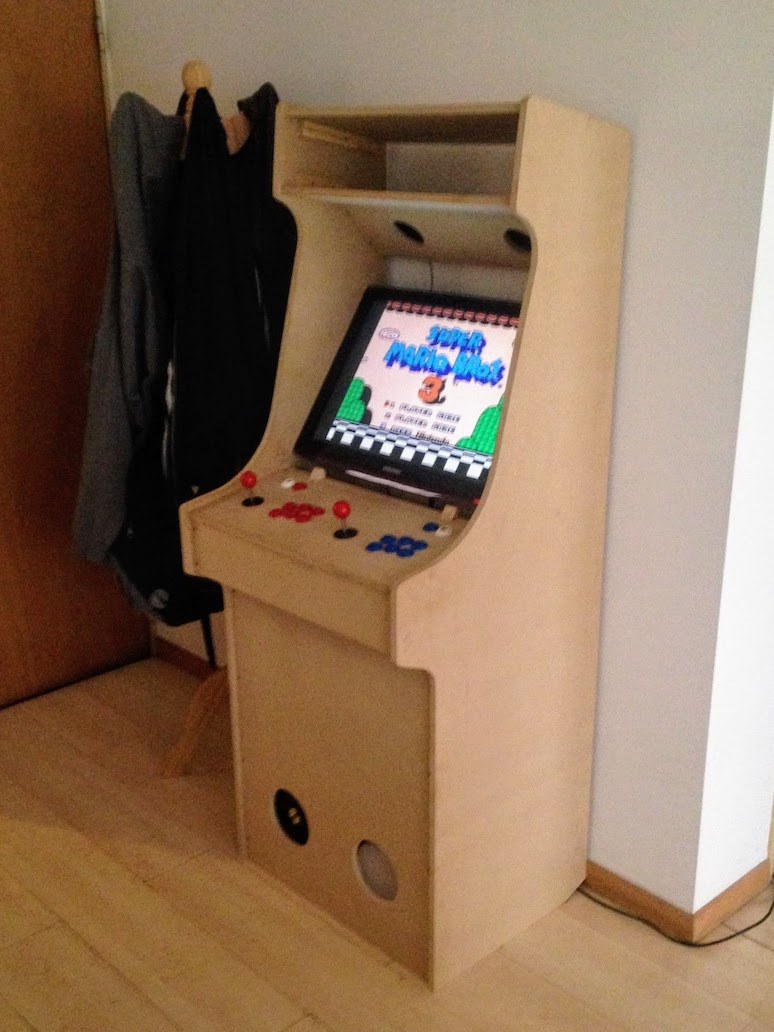
I had a Genius 2.1-channels speaker with subwoofer that I got back in 2007 with my first job. It has a wooden cabinet and an exceptional deep bass. The cardboard model was handy to make the first check on the size and place of the speakers. Now with the arcade cabinet right in front of me, I could double-check the ideal spots for the holes and grills.
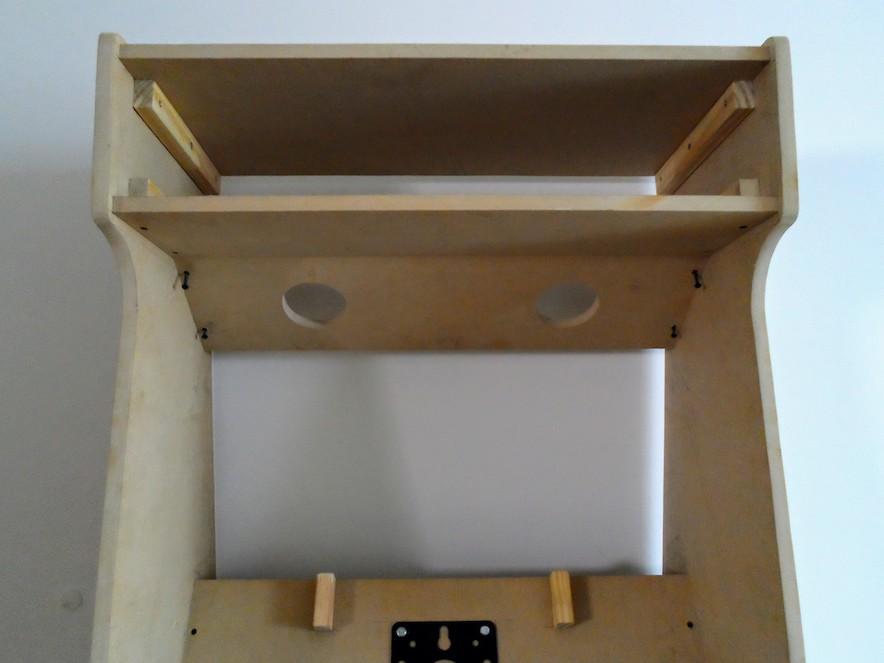
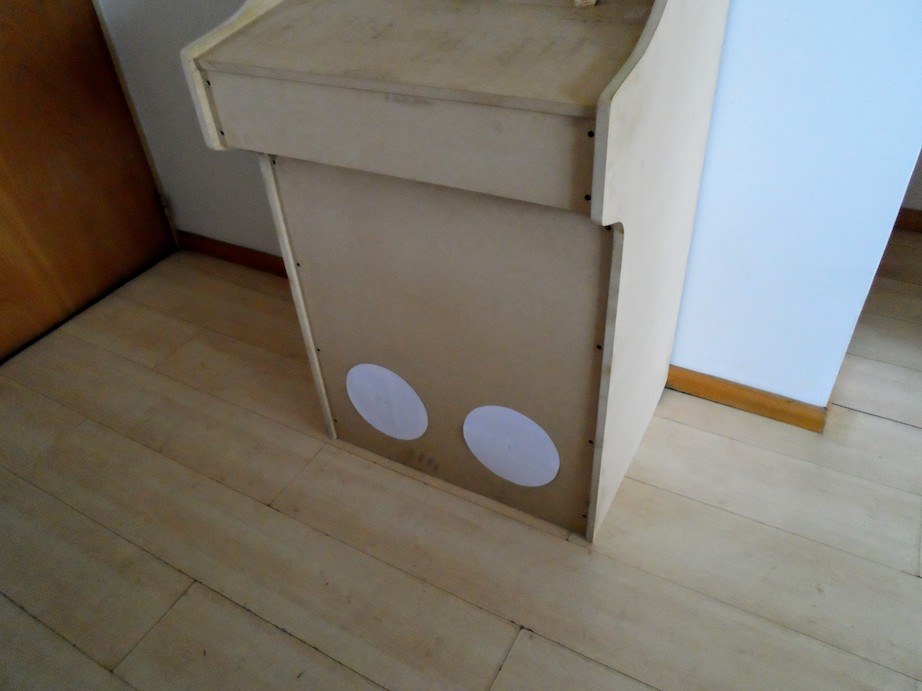
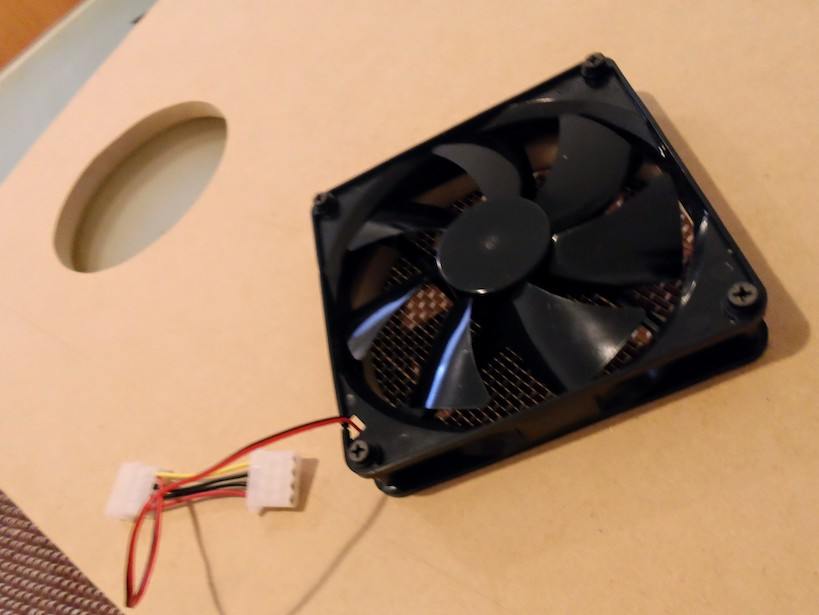
Even though the speakers come with only one subwoofer, I decided to make 2 holes to the cabinet. I ended up using the second one to hold a 140 mm fan.
Acrylics
I bought some crystal-clear acrylic boards to cover the monitor, controllers, and marquee. After sanding some edges of the biggest acrylic board, I attached it to the triangle strips and put some screws in the back of the speakers board.
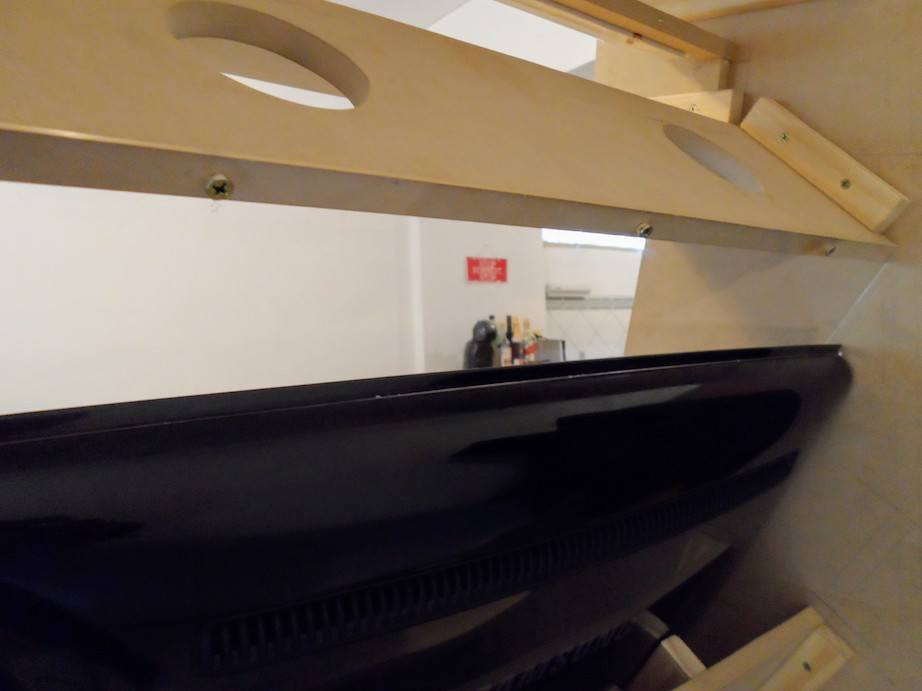
For the marquee, I used 2 sheets of acrylic to hold a semi-transparent print in between. I attached both sheets with 4 stainless steel clamps.
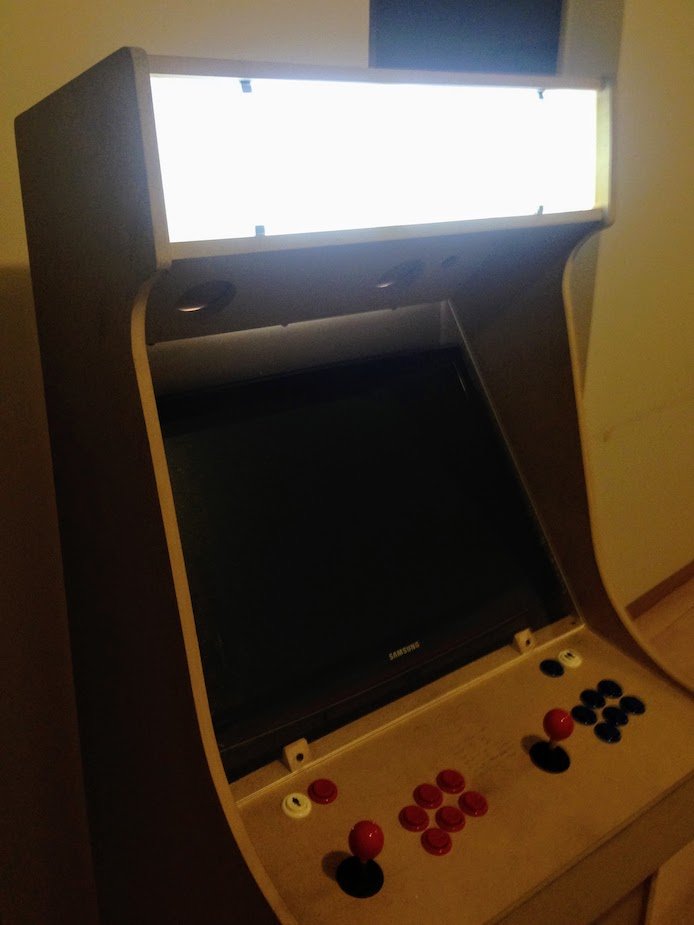
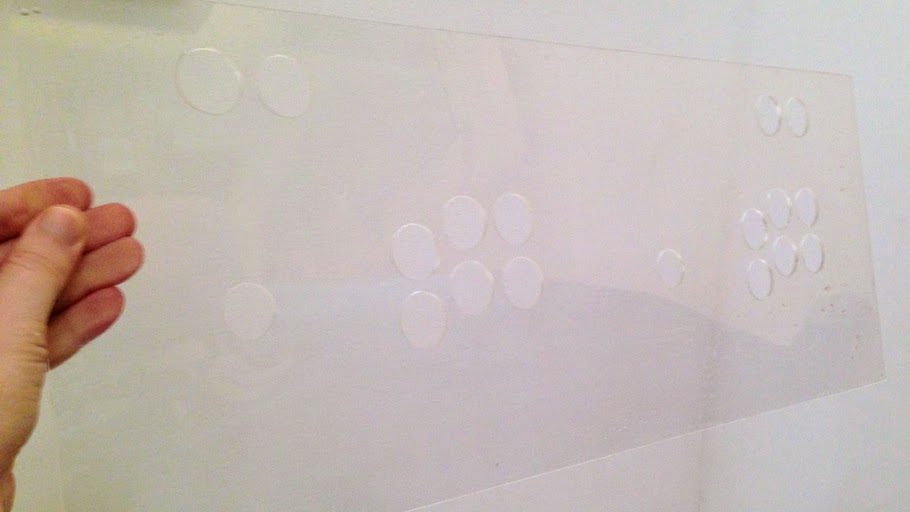
I had to drill 18 holes in an acrylic sheet to install the buttons. I'm glad I decided to get one extra sheet to do some tests because the first experience of drilling acrylic was terrible. The acrylic melted down over the heat of the drill bit.
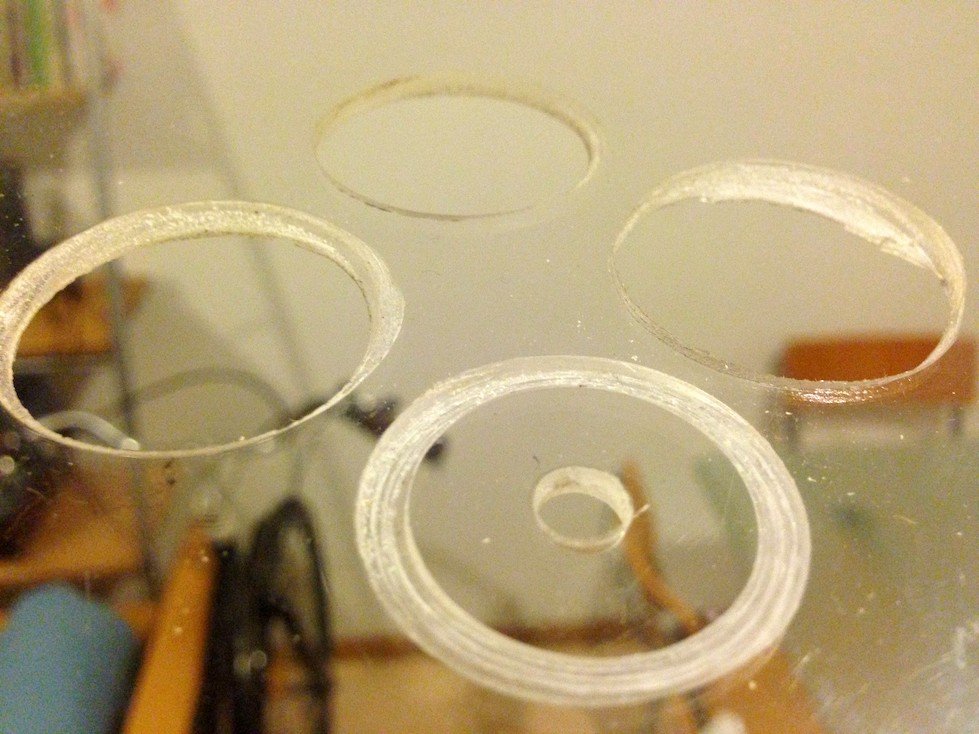
Then I realized that using water keeps the drill bit and the acrylic cold.
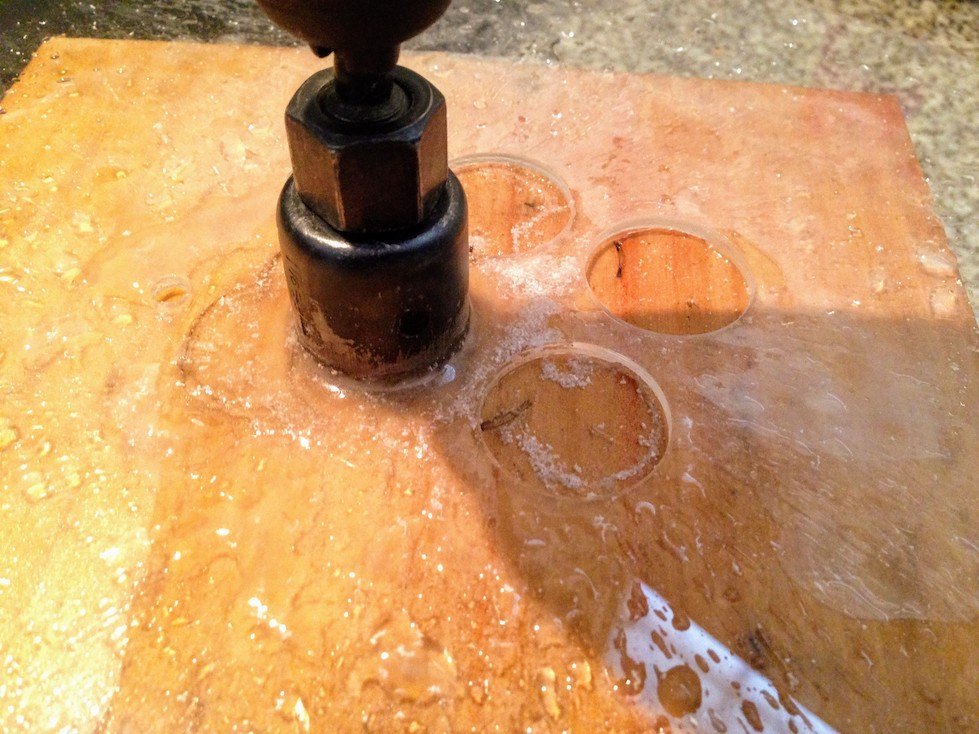
It took around 10 minutes to make each hole. I finished the job with a lot of patience.
Painting
I covered all the screws with wood putty and sanded everything until I got a smooth surface.
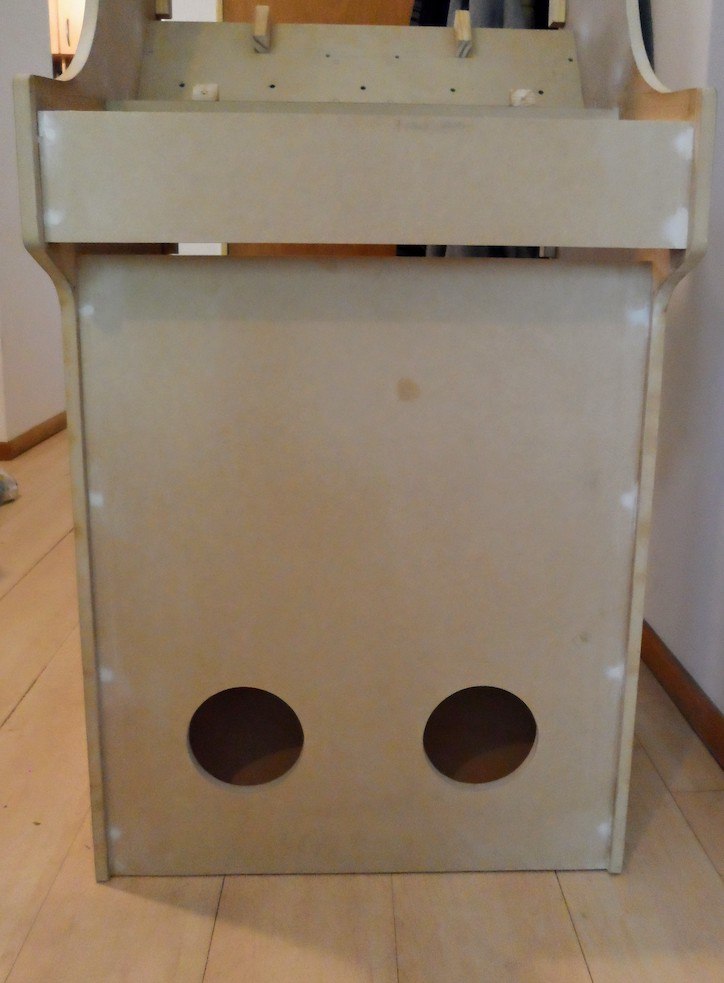
I applied white primer paint for MDF to the entire cabinet. I made sure the first coat was applied with a more liquid consistency than necessary. That way the wood absorves the paint more easily. The primer paint seals the pores of the wood and sets a base color to apply other painting coats.
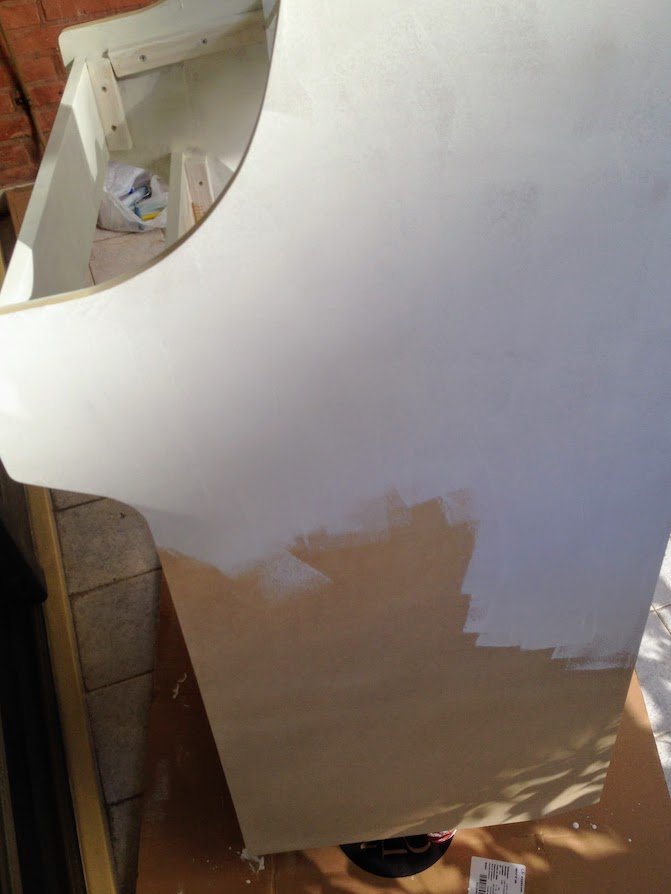
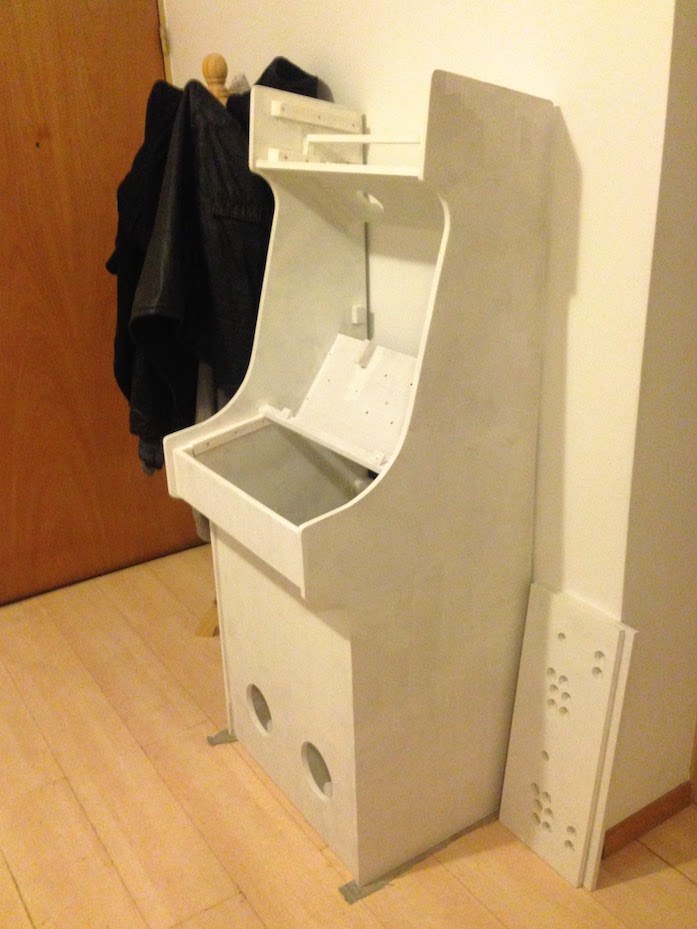
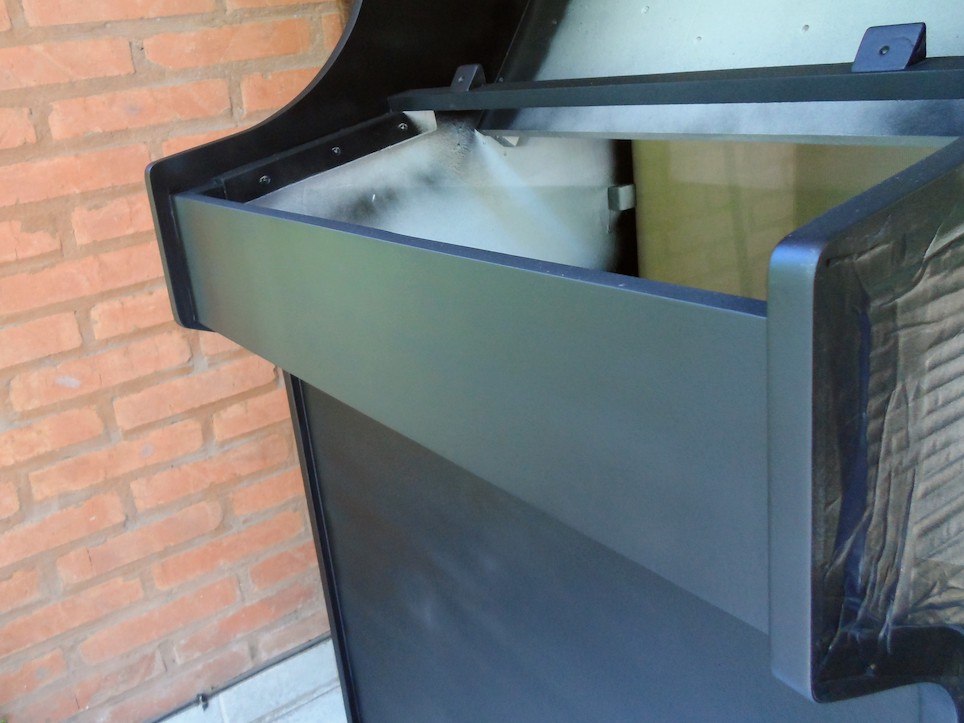
I masked everything except both laterals, using blue paper tape.
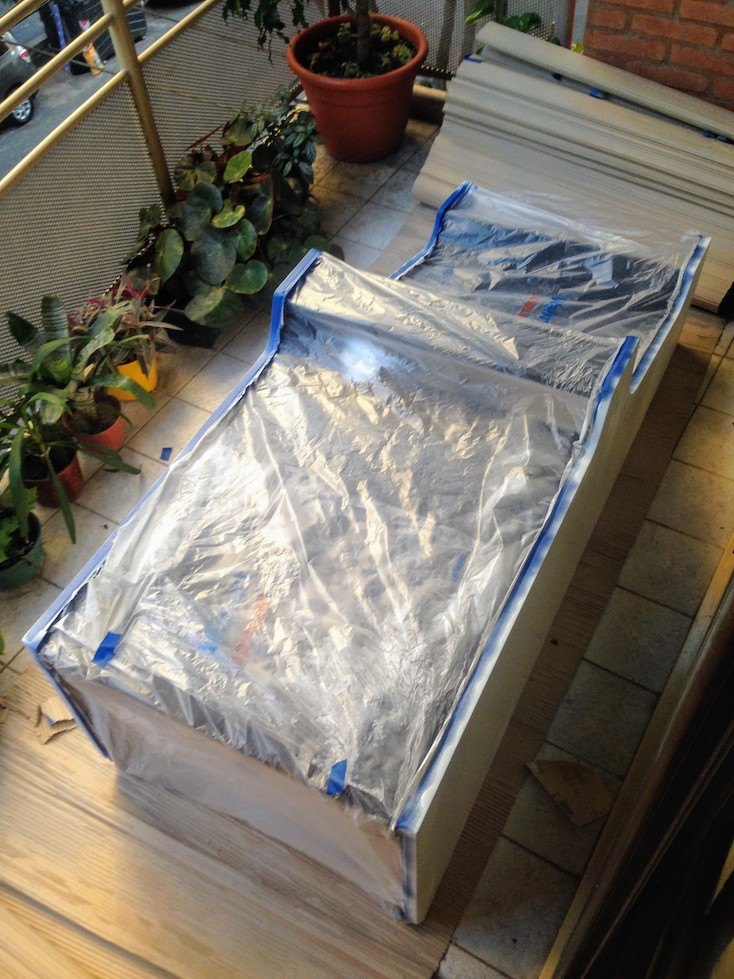
Then, I applied glossy white spraypaint to the sides and to the controllers board. Having a white surface helps making the colors of the printed art pop out.
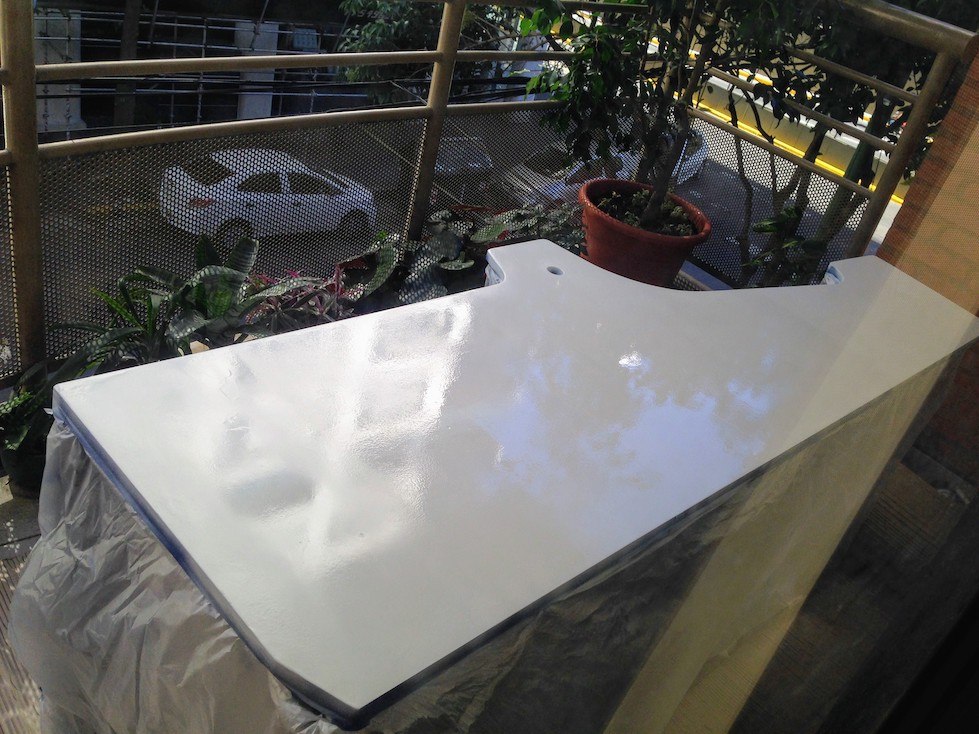
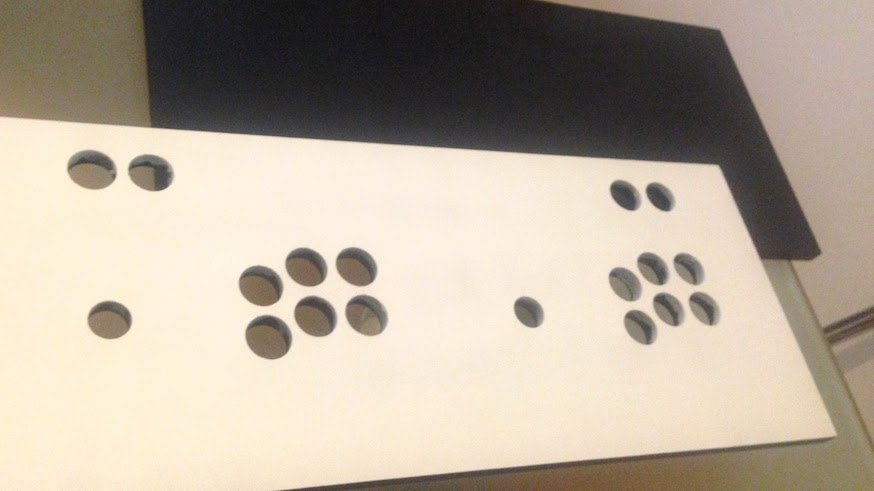
I applied matte black spraypaint to the rest of the cabinet.
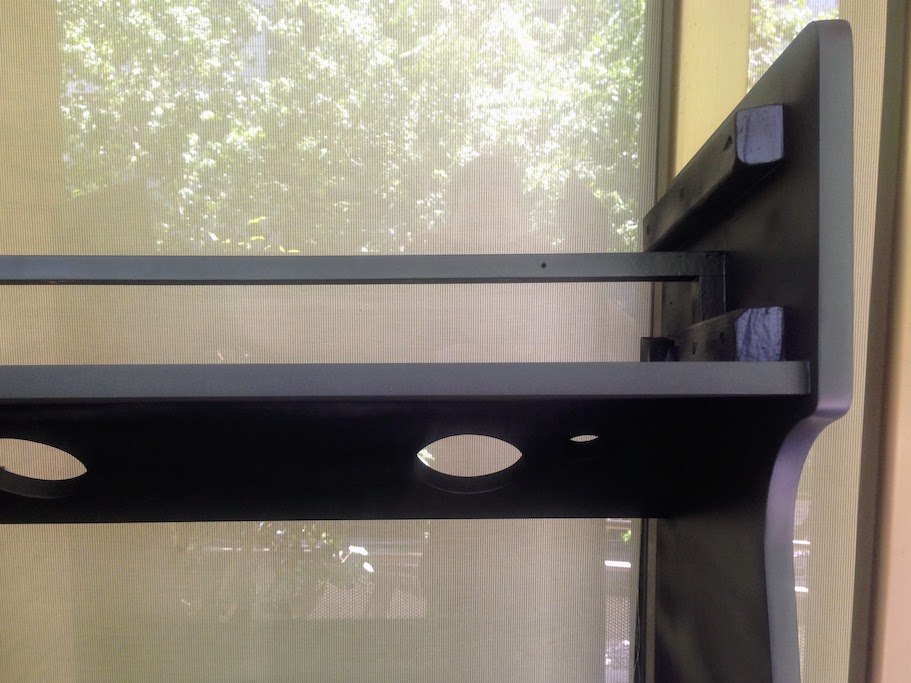
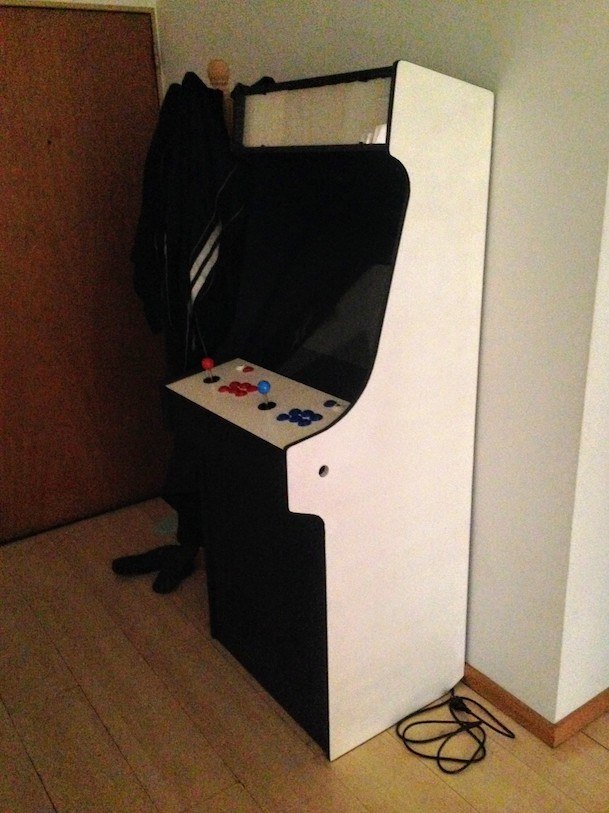
This is how the arcade cabinet looked like before applying the vinyls:
Self-adhesive vinyl
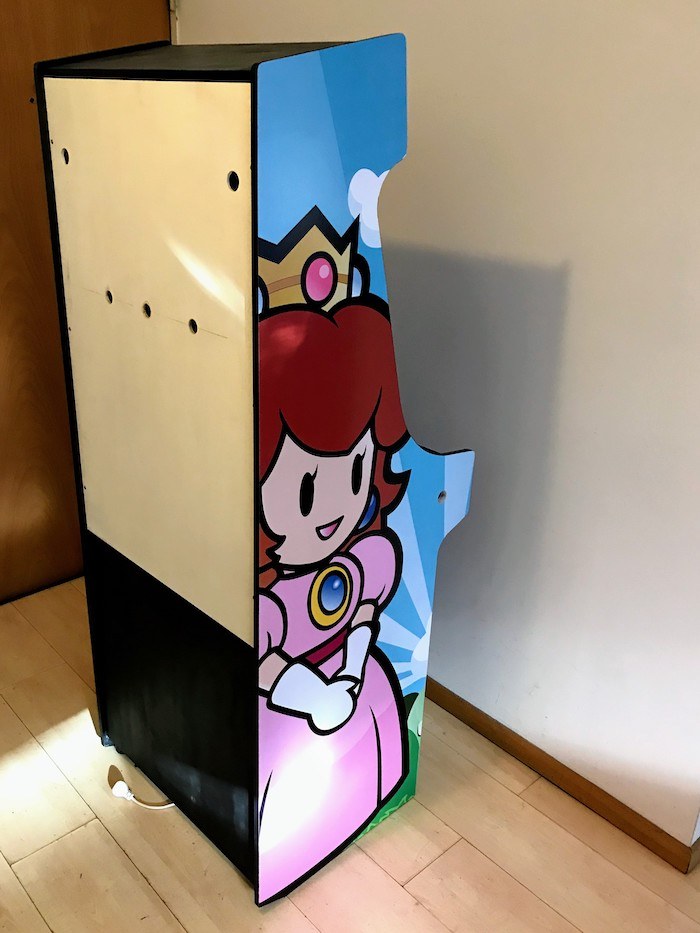
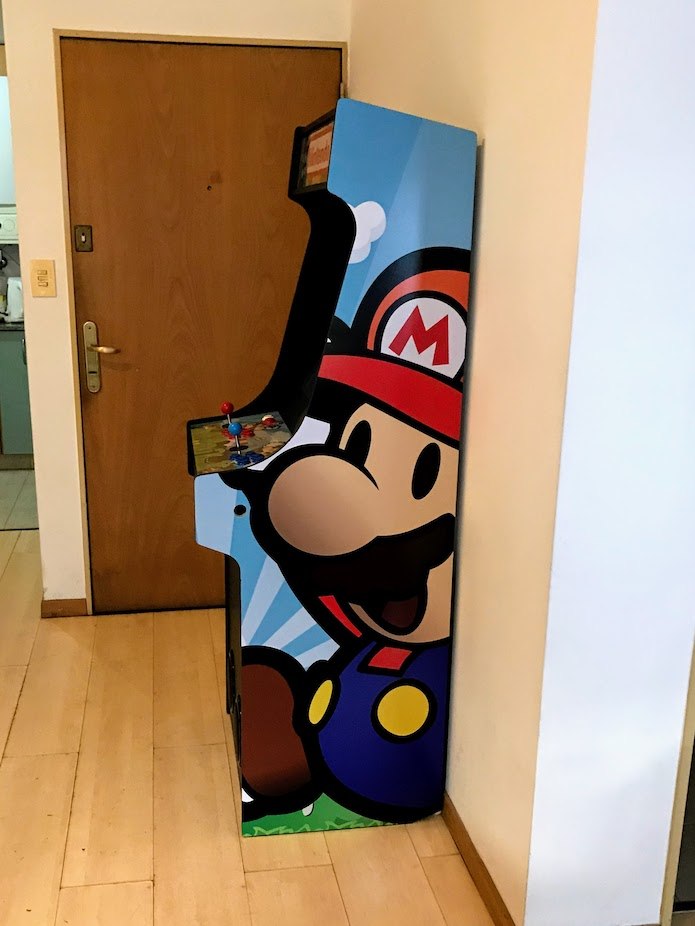
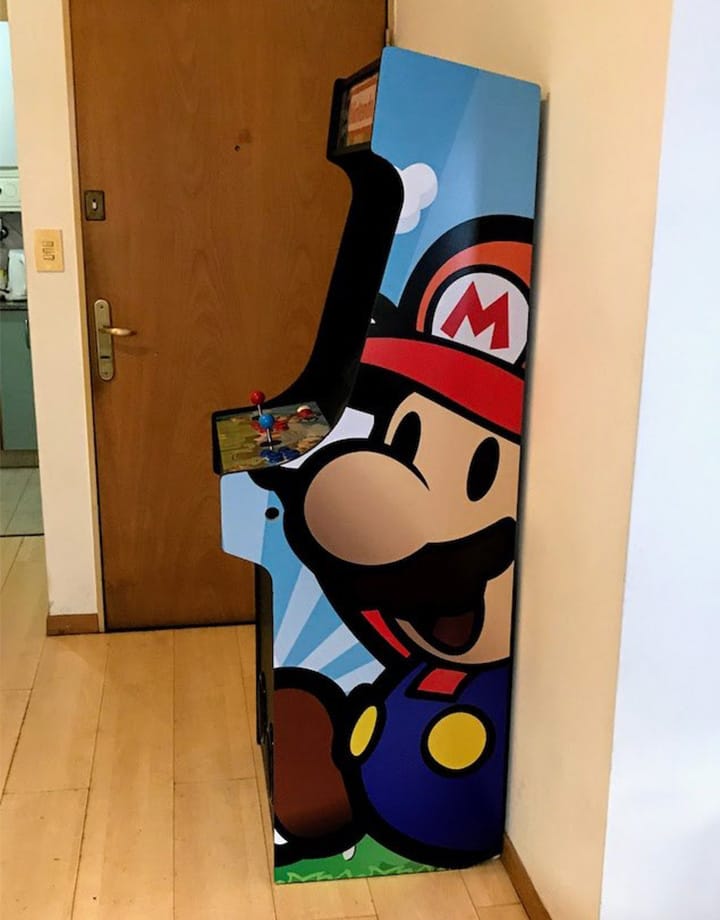
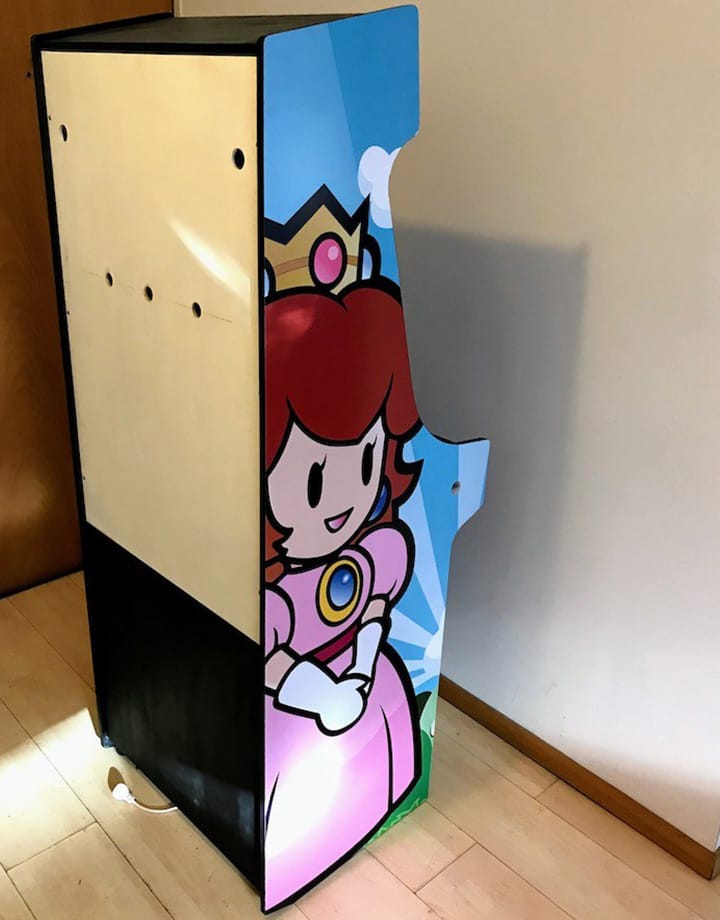
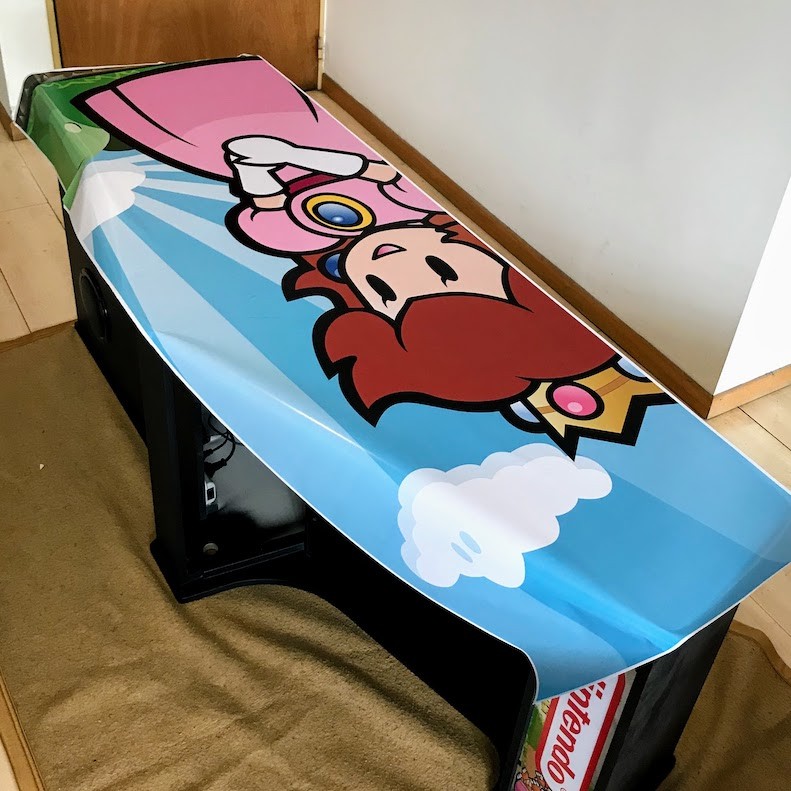
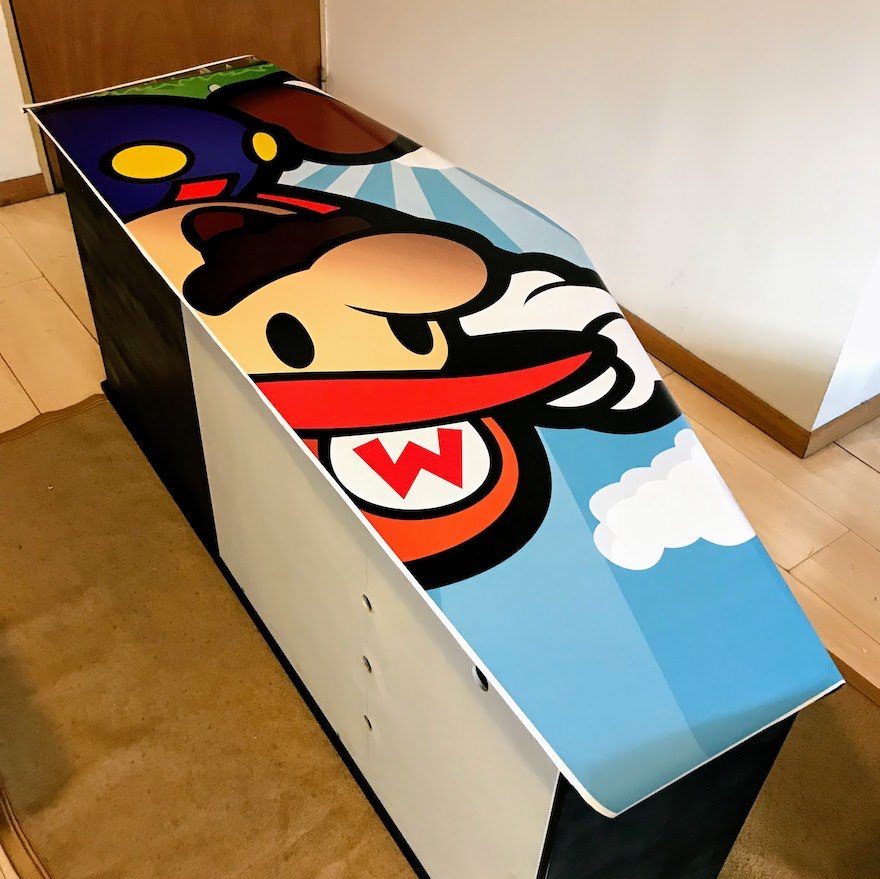
The author of the Paper Mario cabinet made the side art available. So, I printed it in vinyl and installed it on all the white boards.
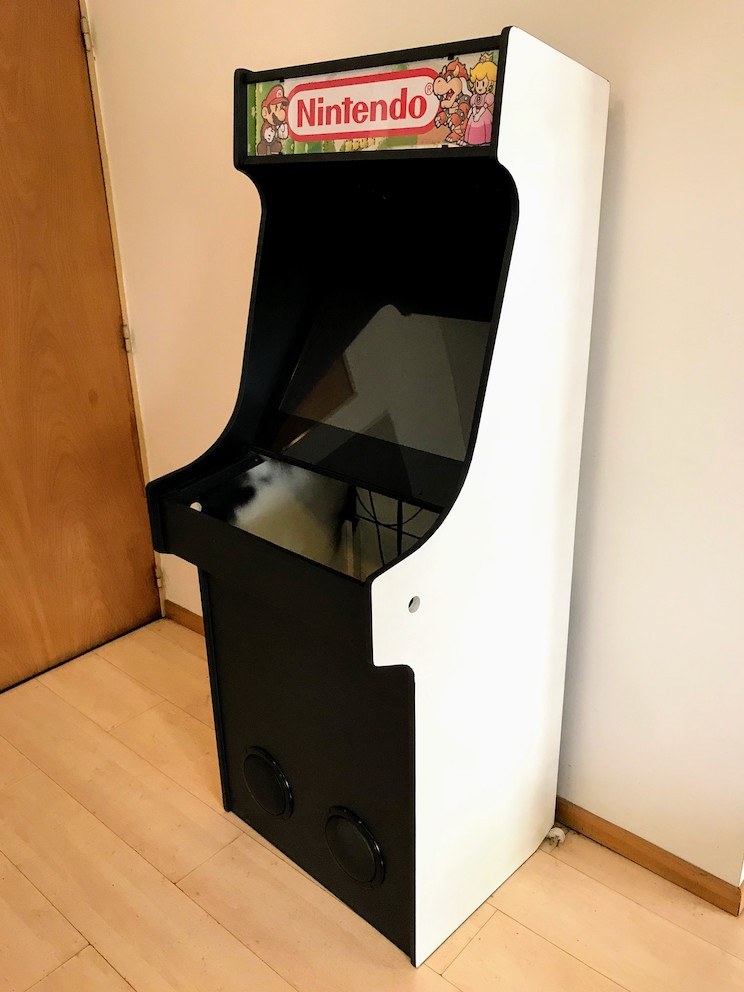
Results
The cherry on the cake were the white buttons I added on both sides of the cabinet. That way I'm able to play pinball games. I connected those buttons directly to other existing buttons (left d-pad and "A") because that's what every retro pinball game uses.
